Posts Tagged: art techniques
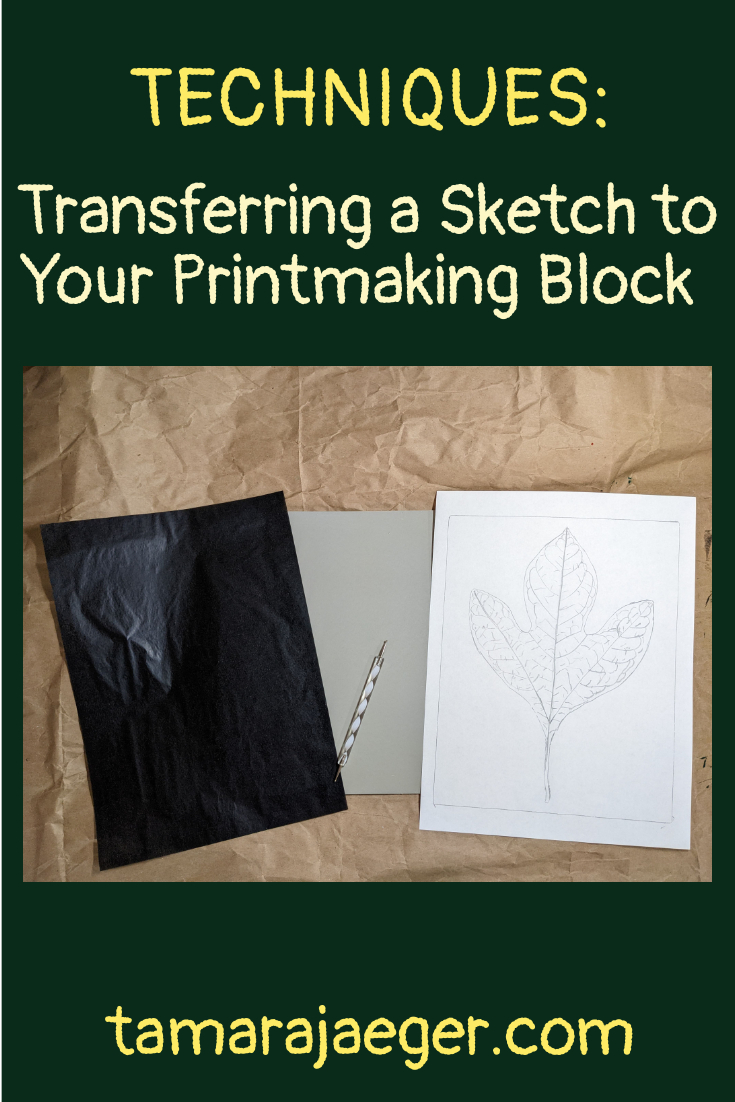
Transferring a Sketch to Your Printmaking Block
As a follow up to my last post about creating an underdrawing for a painting or collage, which you can find here, I’m going to talk a little bit about how to transfer your image onto the plate or block for making a print.
So, you have an image you want to make a print of but now you need to get it onto the block or plate. How can we do it? Well, there are actually a lot of options, and I’ll go over a few of them here.
First, you can obviously draw directly onto the plate. For linocuts, this works fine. You can use pencil or pen, though there’s a tendency for the drawing to smudge or smear while carving the block. You also need to keep in mind that the image you draw on your block will print in reverse—if you have lettering or other elements that need to appear in a specific direction, you need to make sure they are drawn out on the block backwards!

Another option is to take your drawing or image and scribble over the back with a thick layer of pencil. Then you place the image on top of the block and trace the design. Keep in mind that the image will again print in reverse from what is drawn in the sketch using this method.
If you need your image to appear in the same orientation as the drawing (as in, not reversed), you can first trace the design in pencil on the FRONT of the drawing, then turn the paper face down onto the block. Next, you can scribble (or trace, if you can see it) over the image (from the back) using a pencil to transfer the pencil lines on the front onto the block. This method is a little more time-consuming, since it’s multiple steps, but your image will appear reversed on the block, which means that the final printed image will not be reversed and will look just like the drawing.
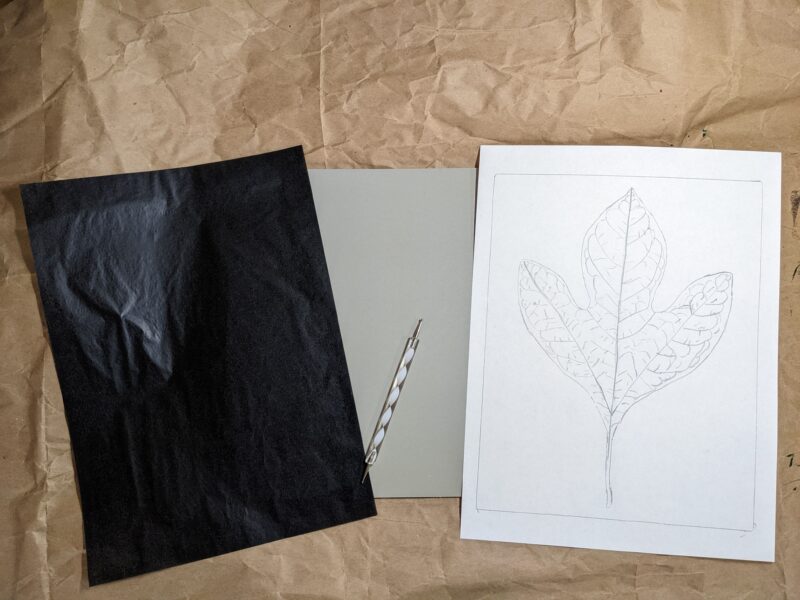
A bit easier that the pencil transfer method is using carbon paper or transfer paper. I switched to this a while back and it’s So much easier! Also, a lot less messy. You place a sheet of transfer paper between the block and the drawing (make sure the darker side, which is what actually transfers, is facing the block), then trace over the drawing using a pen, pencil, or stylus. Keep in mind, as always, that the image on the block will appear reversed in the final print. You can always use the two-step method above to trace the design onto the back of the paper, then trace that reversed image onto the block using the transfer paper. A lightbox can be a useful tool for retracing your drawing on the back, if you are having difficulty seeing the lines through the paper.
*Kingart Graphite Transfer Paper
*Artograph LightTracer Light Box
You can also use a projector to transfer the design, but unless you are working on a very large plate or have a projector that can focus very close to give a small image, it’s probably not an ideal method.
What tips or tricks have you found for transferring your image onto a printmaking plate or block? Tell me in the comments.
Want to stay up to date and see more of what I’m working on? Sign up for my mailing list here and get a FREE digital download of an exclusive tiger linocut print. (I promise not to be spammy with my emails—I hate that too!)
* Please note that this post contains affiliate links and any sales made through such links will reward me a small commission – at no extra cost for you.
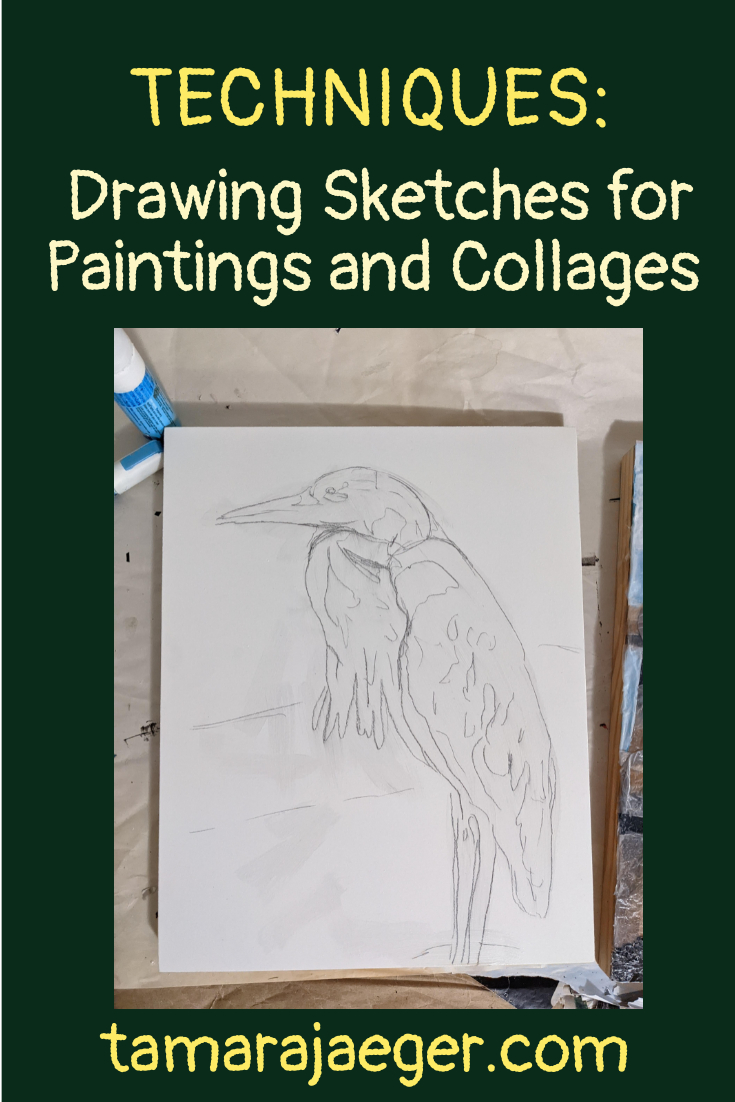
I’m Terrible at Drawing! How Can I Draw the Sketch for Paintings and Collages?
Let’s talk about underdrawings today. An underdrawing is a sketch of a design that is drawn on the paper, canvas, or panel prior to painting or otherwise creating the final artwork. The underdrawing serves to guide the artist during the creation of the piece and so is a critical part of the process—if the underdrawing isn’t right, it can be incredibly difficult to correct the composition while working on the piece.
I confess, I actually don’t like drawing. I mean, I can do it, certainly, but it’s not something I do for fun. I’m definitely not one of those artists you see running around with a sketchbook, constantly drawing everything. But I can’t deny that drawing is a critical skill for creating my torn paper collages, paintings, prints, and other types of art.
“But I can’t draw!” I hear some of you saying. Well, the good news is that there are some ways around that.
The most common method you see in drawing classes is probably the use of a grid to help get the proportions and angles correct. It breaks up the overall composition into sections and allows you to concentrate on the shapes and lines without focusing as much on the overall image. While it’s generally seen as a tool for learning to draw, there’s no reason it can’t be used to help with creating an underdrawing from a reference photo.
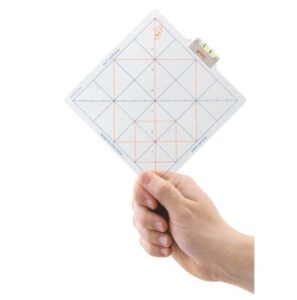
To use the grid method, you just divide your paper or canvas into a series of squares, a bit like a chess board. You then do the same to the reference photo. You can also place a clear plastic sheet with a grid drawn on it over the top of your reference photo, if it’s something you don’t want to draw directly on. There are even grid tools you can purchase, such as these:
*QuicKomp artist’s drawing tool
Once you have your grids, you just focus on one square at a time and draw the lines and shapes exactly as you see them in the square. As long as each square is copied correctly, the entire image will be correctly drawn too.
Another useful method of transferring an image to your paper or canvas is the use of a projector. The method here is quite simple—you project the image onto your paper of canvas and trace what you see.

This is actually the method I use for most of my collages. Not because I can’t draw the images freehand, but because it speeds things up quite a bit and for a medium as time-consuming as torn paper collage, I’ll take any help I can get to streamline things! I usually batch my underdrawings by drawing out several pieces at once, so that I’m not constantly having to set up the projector and then put it away again (my studio is a bit too small to leave it set up all the time).
There are projectors made specifically for artists. They can be fairly expensive, but are probably a bit better for transferring images than some of the other options. As far as artist’s projectors go, there are two main types: ones you can place over a printed image to project it and ones that project digital images, like a slide or movie projector. Artograph is probably the most well-know brand, but there are some others out there.
The Artograph EZ Tracer Projector and the more expensive Artograph Inspire Art Projector are good choices for transferring from a printed image.
*Artograph EZ Tracer Projector
*Artograph Inspire art projector
Alternatively, you can get a regular movie/presentation projector from somewhere like Amazon and use that. As long as it will display still images, it should work reasonably well. The projector I’m currently using is of this type. It’s not perfect—since it’s designed to project images onto a very large screen, there’s a limit to how close you can focus, making it difficult to project onto smaller canvases or papers. But, it’s a good option for larger pieces. It’s still usable for smaller pieces but you might have to tweak the image file size or cropping to get it to a size that will be within the range of where the projector can focus.
Another option is to simply create your artwork on top of the reference photo—no drawing needed at all! This probably wouldn’t work well for most paintings, but would be fine for something like collage where you are gluing paper onto paper. Obviously, this isn’t a method you’d want to use if you don’t want your reference photo to be destroyed!
Have you tried any of these options? Do you have any other tips for creating the underdrawing? Let me know in the comments.
Want to stay up to date and see more of what I’m working on? Sign up for my mailing list here and get a FREE digital download of an exclusive tiger linocut print. (I promise not to be spammy with my emails—I hate that too!)
* Please note that this post contains affiliate links and any sales made through such links will reward me a small commission – at no extra cost for you.
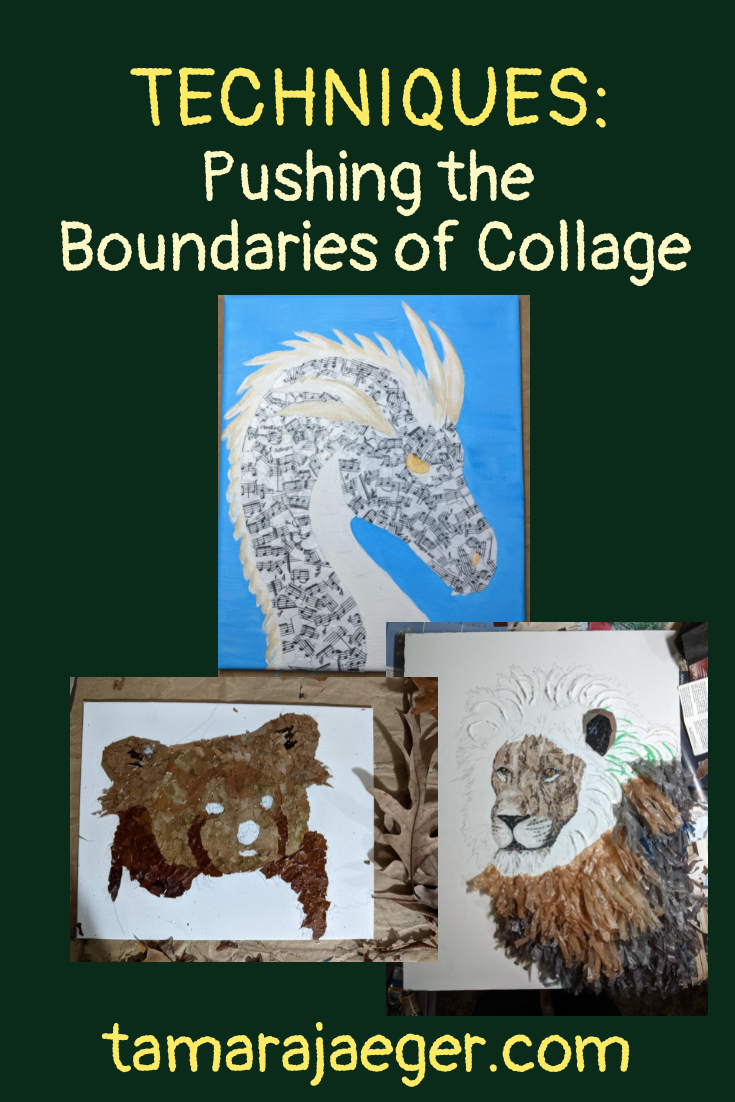
Pushing the Boundaries of Collage
I’ve been working on a lot of pieces lately that combine other materials and techniques with my ‘normal’ torn paper collage. Part of it is just to see how far I can push things. I’ve gotten my torn paper collage technique quite well-refined, to the point that the paper pieces function more like paint or another traditional medium than as collage. There’s certainly nothing wrong with the traditional collage look, but that’s not where my journey has taken me!
Part of it is a natural progression. A lot of my ‘paintings’ have shifted to be more abstract, mixed-media pieces that are increasingly three-dimensional or other wise not contained to a single, flat plane. There are pieces that are formed from multiple canvases and pieces where the ‘image’ doesn’t stay within the rectangular boundary of the canvas. It makes sense that my collages would evolve too, I suppose.
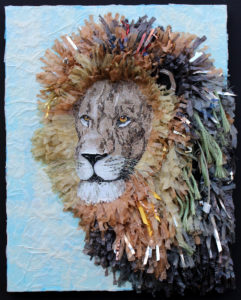
The Inspired Art piece I talked about here was definitely a jumping-off point. There’s still some of my usual torn paper collage, but it also includes a lot of non-standard materials. “Trash,” used as an art medium. The little test collage of a Red Panda I made out of leaves (you can read more about it here) was another interesting side branch and one that I think I’ll explore further. I suspect there are definite limits to what can be accomplished with leaves as an art material. But I really want to see what those limits are!

All this experimentation and exploration means that I’ve needed to adjust the materials and techniques I use, however. Normally, I use artist’s drawing paper and scrapbooking glue to attach paper fragments torn from catalogs and magazines. I intentionally use paper as a substrate, since it will respond the same way the collaged paper fragments will to changes in temperature and humidity. It’s the conservator in me! I also don’t varnish my paper collages, since the varnish is not removable and even archival-quality varnishes will yellow over time.
With the pieces that contain other materials, there are different concerns. The variety of materials means that there will always be a potential issue with how the different parts of the piece respond to changes in environment. I use a sturdier substrate, like a wooden panel, since the materials can sometimes be quite heavy, relatively-speaking, so they need more support. I use different materials as the adhesive, since scrapbooking glue isn’t strong enough or ‘bulky’ enough to hold the different materials firmly.
I also tend to use varnish more often, either on the entire piece or just on parts of it. This is to help protect the materials themselves, either from humidity changes or from the other materials. I coat the metal pieces to keep them from rusting, for example, which could damage parts of the piece that are in contact with it. The varnish also helps to give the surface a more uniform; something that’s not really an issue when I working just with paper.
Some of the materials I’ve been using in my mixed-media collages are listed below, if you are interested in my go-to products.
- Golden Soft Gel Medium
- Golden Light Molding Paste
- Winsor & Newton Galeria Acrylic Satin Varnish
- ZIG or EK Tools 2-Way Glue
- Strathmore Drawing Paper
Want to stay up to date and see more of what I’m working on? Sign up for my mailing list here and get a FREE digital download of an exclusive tiger linocut print. (I promise not to be spammy with my emails—I hate that too!)
* Please note that this post contains affiliate links and any sales made through such links will reward me a small commission – at no extra cost for you.
Art Techniques: Torn Paper Collage
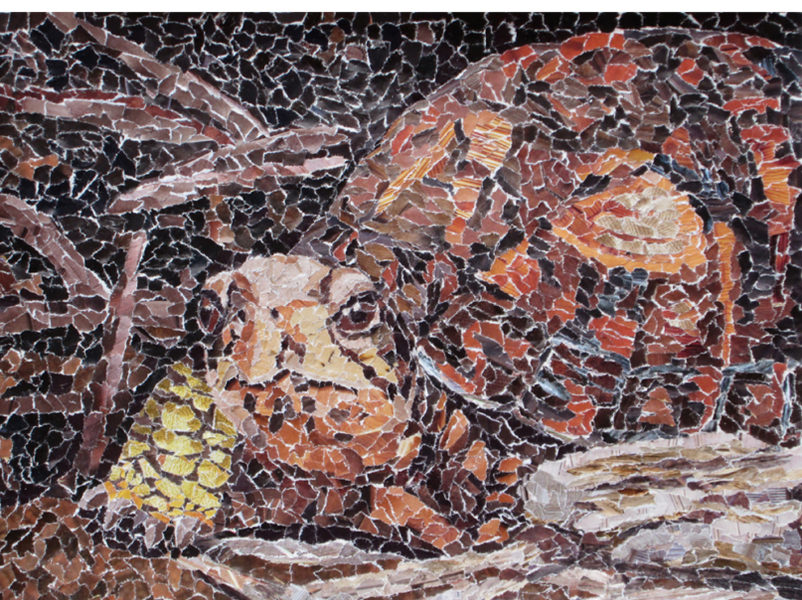
Today I’m going to walk you through my process for creating a torn paper collage, like my custom pet portraits.
- Draw out the design on paper.

I use acid-free artist’s drawing paper drawing paper in varying sizes. My favorite is 9 inches x 12 inches, since this gives a nice, intimate-sized piece that still allows for excellent detail. It also doesn’t feel like an endless marathon of collaging, like larger pieces can. Large collages do provide a nice, bold statement though, so that’s something to keep in mind when deciding on the size.
- Select pieces of magazines and catalogs with desired/suitable colors.
I have a big stack of magazines and catalogs in my studio, so I have plenty of material to choose from. Since I primarily make animals and pet portraits, I look for large areas of natural and neutral colors like grays, tans, browns, white and black. Blues and greens make excellent background colors, so I also focus on collecting catalogs that contain these. The texture of the paper is somewhat important—some catalog papers don’t tear well, which makes it difficult to tear the tiny, precise fragments that I use in my collages. Some of my favorite catalogs are the LL Bean and Restoration Hardware ones. Those are great for finding the colors use a lot of!
- Apply adhesive to a section of the drawing.
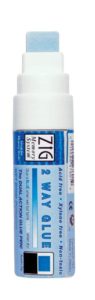
I use the Zig/EK Tools 2-Way Glue, which I previously reviewed here. It’s acid-free and archival and easy to apply in precise areas. I’ve tried several other acid-free scrapbooking adhesives, but the two-way glue is by far my favorite. I use the wide, chisel tip for covering large areas and the fine-point pen or fine-point chisel tip for adding glue to smaller areas or next to areas of the piece I’ve already completed. The glue remains tacky after drying so if I misjudge how long a section will take me, the paper fragments will still stick.
- Carefully hand-tear the magazine pieces to desired shape and size.


I carefully select and tear each and every paper fragment by hand. Every. Single. One. Whiskers are incredibly tricky to tear by hand, if you were wondering. I’m constantly trying different techniques to hand-tear thin, delicate whisker strips. If the whiskers are too thick and bulky, they can really detract from the overall look of the piece.
- Place the paper pieces onto the adhesive
I place the paper fragment using fine-point tweezers. You can use your fingers, but they get sticky very quickly, making it hard to get the paper fragments to stick to the substrate and not your fingers. Also, I typically use such tiny fragments that it’s nearly impossible to place them accurately with my fingers. I don’t remember where I got my tweezers but I think I should look into getting a second (and maybe a third) pair—I’d be completely lost if mine were ever missing or damaged!
- Repeat steps 3 through 5.
Over and over and over. This is definitely Not a fast process. Each collage takes many, many hours of work. It’s also important to take frequent breaks to give your hands, back, eyes and brain a break. I don’t recommend multi-hour marathon collage sessions.
- Success! You now have a completed torn paper collage masterpiece!
So, are you ready to give torn paper collage a try? Drop any questions below. I’m happy to help.
Is making a torn paper collage totally not your thing but you still want a piece with that unique look and feel? Check out the pieces I have for sale here.
Would you like a custom portrait of your own pet? You can check out the ordering process here or email me at tamara@tamarajaeger.com with any questions!
Want to keep updated and see more of what I’m working on? Sign up for my mailing list here and get a totally FREE digital download of a tiger linocut print. (I promise not to be spammy with my emails—I hate that too!)
* Please note that this post contains affiliate links and any sales made through such links will reward me a small commission – at no extra cost for you.
Art Techniques: Acrylic Pouring
I use poured acrylic paint in a lot of my abstract pieces so probably my favorite art material in those situations is Liquitex Pouring Medium .

Pouring mediums dilute the paint to make it more fluid while retaining the color and binding properties of the undiluted paint. Sure, you can thin your paint with water, but that typically leads to dull, flat, washed-out colors with a chalky surface that doesn’t stick well to surfaces. Pouring medium also helps to prevent the poured paint from cracking.
There are dozens of methods of acrylic pouring—a quick google search will give you a good idea of the huge range of effects that can be achieved. I’ve only tried it out in a few types of situations, though it’s on my list to do some more experimenting. The process is fun and the results are somewhat unpredictable!

I like to mix up a color and add in the pouring medium until it reaches a good flowing consistency. You can add quite a bit before the colors start to get diluted, I’ve found. And sometimes that’s even an effect I’m looking for. The diluted paint dries to a smooth, glossy surface.
I typically pour the mixed color onto the piece I’m working on and then mix up another color (and sometimes more!), pouring that one on top of the still-wet layer(s) below it. After I get the wet paint poured onto the substrate, I’ll then tilt the piece to allow the paints to run and blend. Changing the direction and angle of the piece causes the paints to run and mix in quite fascinating ways. You can also add multiple colors of diluted paint to a container and (without mixing!) pour them onto the substrate for a different type of mixing or blending effect.
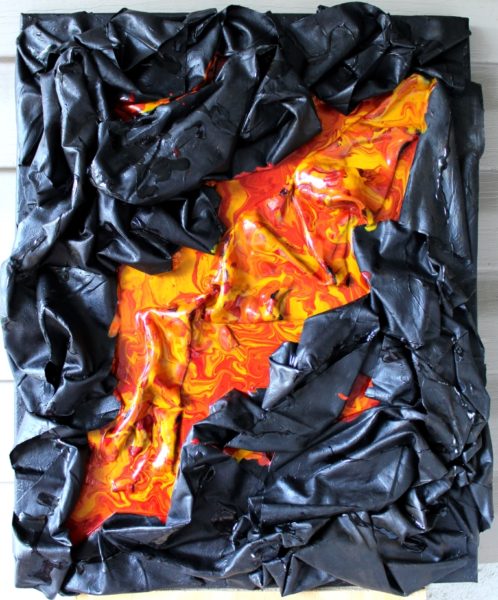
I’ve tried pouring the paints onto a panel with a lip to contain the paint, and that works really well for flat pieces. More often, however, I use poured acrylic as a way to add color and patterns to my 3-D mixed media pieces, where the paint is poured over a highly textured, uneven surface. It runs down the sides of the peaks and pools in the valleys and crevices. I used the technique in many of the pieces in my “Elementals” series. It also gave quite a nice effect when poured over crushed glass in several of my “Below the Surface” geologically-inspired pieces.
Have you tried acrylic pouring? What is your favorite technique? Tell me in the comments.
*Please note that this post contains affiliate links and any sales made through such links will reward me a small commission – at no extra cost for you.
Transferring Images Using a Projector
I’ve recently been experimenting with ways to speed up my process when making my torn paper collages. Let’s face it—gluing down hundreds or thousands of tiny, hand-torn paper fragments takes a lot of time. Unfortunately, there’s no way around that. The only place I can see to speed things up a bit is in the prep work. Namely, the underdrawing.
The initial drawing for the piece is critical. If it’s not quite right, it’s nearly impossible to get the final piece to look good. This is particularly important for things like pet portraits, where the subject is specific and recognizable. Sketching out the subject, then erasing and tweaking until it’s finally just right can take a lot of time. There are a number of ways to make sure the angles and proportions are correct, but it all takes time. So one day I thought “What about one of those art projector things?” I work mostly from photo references, so if I could project the image onto the paper and essentially trace it, that would certainly speed things up!
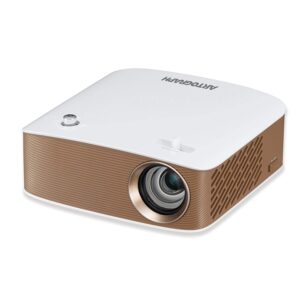
Artograph Flare 150 projector
Now, some of you are probably thinking “but that’s cheating!” And that’s certainly one way of looking at it. On the other hand, regardless of how the underdrawing got there, the difficult part of the work is in selecting, shaping and layering the magazine fragments to create an image that contains the needed range of values, highlights and shadows.
So I decided to try one out. First, I looked at the actual
art projectors. Those are nice, but expensive. I couldn’t justify the cost for something I was just experimenting with, though I might consider splurging on one in the future. I ended up getting a regular home movie projector. There are a ton to choose from online and they can be Much cheaper than the ones created specifically for artwork. Granted, the art projectors are probably better overall, since the movie projectors have a somewhat limited working distance (I don’t typically need to blow up my images to “wall size”!) and the resolution for working up close is somewhat poor. But I also really only need a rough sketch of the shape and major features, not a photo-like reproduction of the image, so the poorer resolution isn’t really much of a problem.
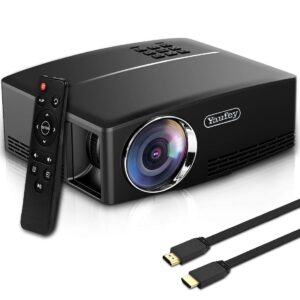
Home movie projector
I typically prop the projector up on a stack of boxes, pointed at a wall that has a bookshelf that I can place my paper pad against. The limited focusing range of the projector means that much of the adjustment in size and focus must be done by moving the projector itself backward and forward to get the image the way I want it. There’s definitely a limit on how small you can make the image—it simply won’t focus if the projector is too close to the wall. Enlarging images onto large canvases, large paper sizes, or for wall murals would be a better use of this technique than attempting to transfer small images. I suspect the art projectors would provide a better focusing distance and resolution for smaller image transfers.
Depending on the quality of the projector, the room can need to be fairly dark to see the image well. For the one I have, I find that turning off the lights in the room is sufficient if I’m working at night. I haven’t tried to use the projector during the daytime. While my projector allows a laptop to be connected directly, I usually transfer the images onto a USB stick and use that, since it allows me more leeway for moving the projector around. Another issue I’ve found is that the projector runs single images in a slide show mode, which causes it to flip between images or to re-project a single image after a short amount of time. The way I’ve gotten around this is by placing each image into its own folder, so the projector won’t switch between multiple images on the flash drive and by pressing the ‘pause’ button after the ‘run’ button, so it holds the image steady instead of repeatedly refreshing the image. This allows me to load several images onto the flash drive so I can prep for multiple pieces in one session, instead of having to set the project up each time I want to sketch out a new piece.
I’m still not sure I’m totally happy with this method of image transfer. It definitely would work better for enlarging images than for transferring small images. However, it Does speed things up considerably and gives acceptable quality and performance for the price. I might have to splurge on one of the more expensive art projectors at some point, to see if those work better. And hey, if I ever unexpectedly need to show a movie to a group of people, I’m all set!
*Please note that this post contains affiliate links and any sales made through such links will reward me a small commission – at no extra cost for you.