Posts Tagged: light box
Transferring a Sketch to Your Printmaking Block
As a follow up to my last post about creating an underdrawing for a painting or collage, which you can find here, I’m going to talk a little bit about how to transfer your image onto the plate or block for making a print.
So, you have an image you want to make a print of but now you need to get it onto the block or plate. How can we do it? Well, there are actually a lot of options, and I’ll go over a few of them here.
First, you can obviously draw directly onto the plate. For linocuts, this works fine. You can use pencil or pen, though there’s a tendency for the drawing to smudge or smear while carving the block. You also need to keep in mind that the image you draw on your block will print in reverse—if you have lettering or other elements that need to appear in a specific direction, you need to make sure they are drawn out on the block backwards!

Another option is to take your drawing or image and scribble over the back with a thick layer of pencil. Then you place the image on top of the block and trace the design. Keep in mind that the image will again print in reverse from what is drawn in the sketch using this method.
If you need your image to appear in the same orientation as the drawing (as in, not reversed), you can first trace the design in pencil on the FRONT of the drawing, then turn the paper face down onto the block. Next, you can scribble (or trace, if you can see it) over the image (from the back) using a pencil to transfer the pencil lines on the front onto the block. This method is a little more time-consuming, since it’s multiple steps, but your image will appear reversed on the block, which means that the final printed image will not be reversed and will look just like the drawing.
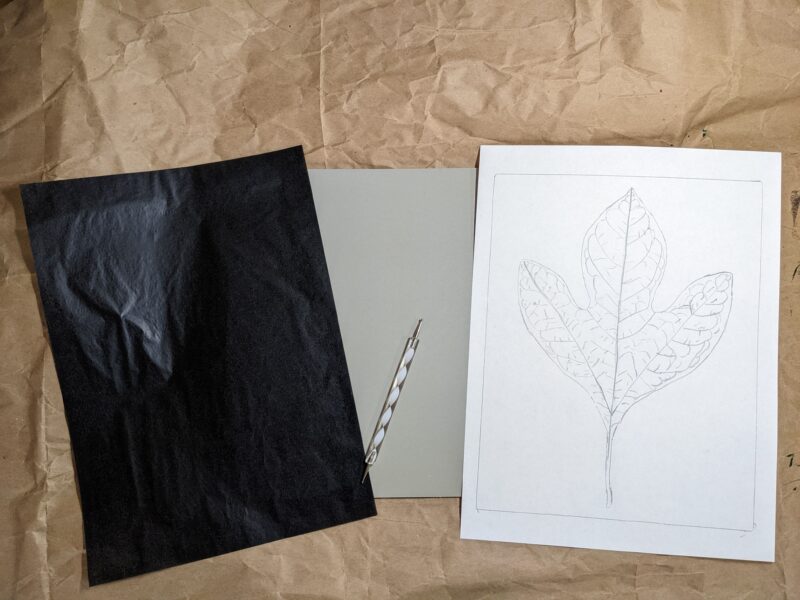
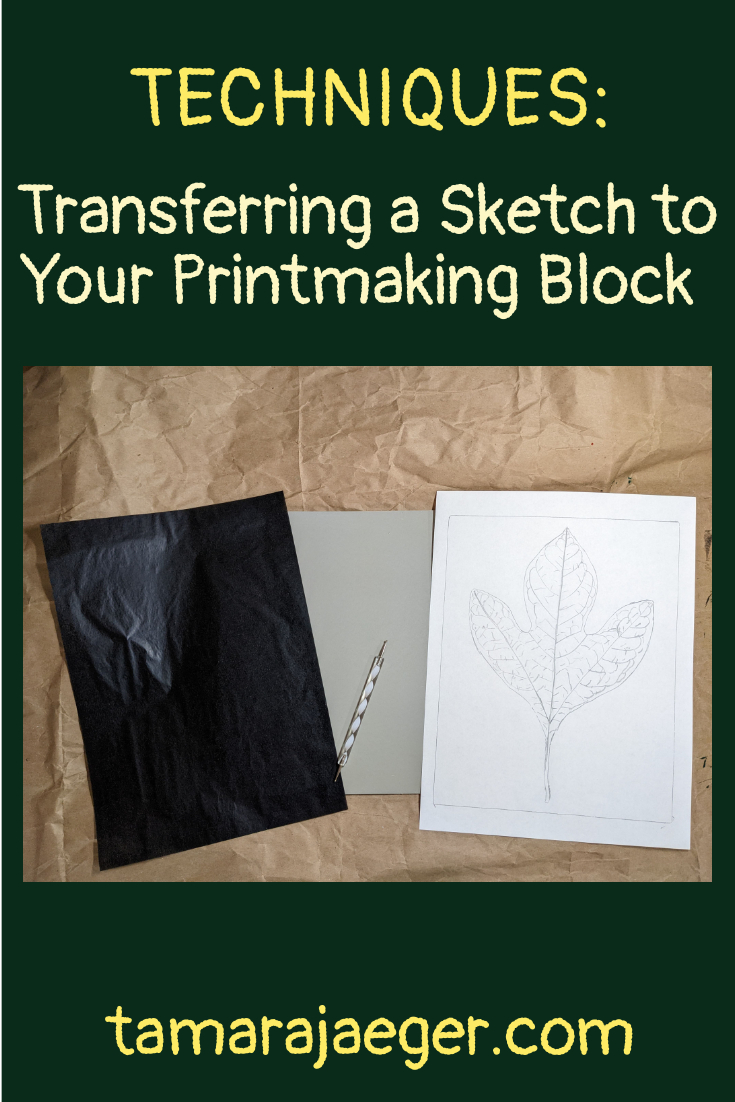
A bit easier that the pencil transfer method is using carbon paper or transfer paper. I switched to this a while back and it’s So much easier! Also, a lot less messy. You place a sheet of transfer paper between the block and the drawing (make sure the darker side, which is what actually transfers, is facing the block), then trace over the drawing using a pen, pencil, or stylus. Keep in mind, as always, that the image on the block will appear reversed in the final print. You can always use the two-step method above to trace the design onto the back of the paper, then trace that reversed image onto the block using the transfer paper. A lightbox can be a useful tool for retracing your drawing on the back, if you are having difficulty seeing the lines through the paper.
*Kingart Graphite Transfer Paper
*Artograph LightTracer Light Box
You can also use a projector to transfer the design, but unless you are working on a very large plate or have a projector that can focus very close to give a small image, it’s probably not an ideal method.
What tips or tricks have you found for transferring your image onto a printmaking plate or block? Tell me in the comments.
Want to stay up to date and see more of what I’m working on? Sign up for my mailing list here and get a FREE digital download of an exclusive tiger linocut print. (I promise not to be spammy with my emails—I hate that too!)
* Please note that this post contains affiliate links and any sales made through such links will reward me a small commission – at no extra cost for you.