Posts Tagged: QuicKomp
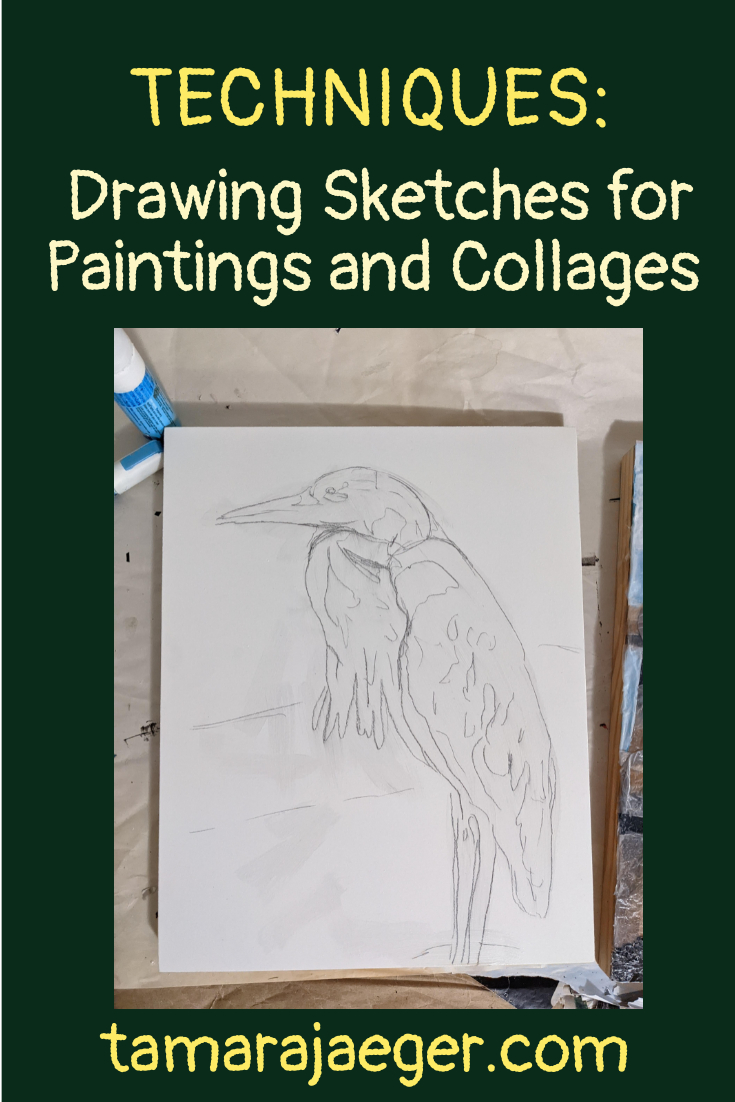
I’m Terrible at Drawing! How Can I Draw the Sketch for Paintings and Collages?
Let’s talk about underdrawings today. An underdrawing is a sketch of a design that is drawn on the paper, canvas, or panel prior to painting or otherwise creating the final artwork. The underdrawing serves to guide the artist during the creation of the piece and so is a critical part of the process—if the underdrawing isn’t right, it can be incredibly difficult to correct the composition while working on the piece.
I confess, I actually don’t like drawing. I mean, I can do it, certainly, but it’s not something I do for fun. I’m definitely not one of those artists you see running around with a sketchbook, constantly drawing everything. But I can’t deny that drawing is a critical skill for creating my torn paper collages, paintings, prints, and other types of art.
“But I can’t draw!” I hear some of you saying. Well, the good news is that there are some ways around that.
The most common method you see in drawing classes is probably the use of a grid to help get the proportions and angles correct. It breaks up the overall composition into sections and allows you to concentrate on the shapes and lines without focusing as much on the overall image. While it’s generally seen as a tool for learning to draw, there’s no reason it can’t be used to help with creating an underdrawing from a reference photo.
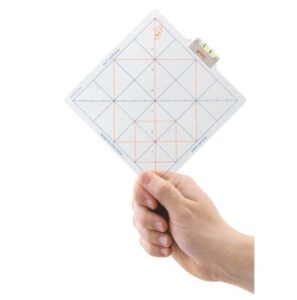
To use the grid method, you just divide your paper or canvas into a series of squares, a bit like a chess board. You then do the same to the reference photo. You can also place a clear plastic sheet with a grid drawn on it over the top of your reference photo, if it’s something you don’t want to draw directly on. There are even grid tools you can purchase, such as these:
*QuicKomp artist’s drawing tool
Once you have your grids, you just focus on one square at a time and draw the lines and shapes exactly as you see them in the square. As long as each square is copied correctly, the entire image will be correctly drawn too.
Another useful method of transferring an image to your paper or canvas is the use of a projector. The method here is quite simple—you project the image onto your paper of canvas and trace what you see.

This is actually the method I use for most of my collages. Not because I can’t draw the images freehand, but because it speeds things up quite a bit and for a medium as time-consuming as torn paper collage, I’ll take any help I can get to streamline things! I usually batch my underdrawings by drawing out several pieces at once, so that I’m not constantly having to set up the projector and then put it away again (my studio is a bit too small to leave it set up all the time).
There are projectors made specifically for artists. They can be fairly expensive, but are probably a bit better for transferring images than some of the other options. As far as artist’s projectors go, there are two main types: ones you can place over a printed image to project it and ones that project digital images, like a slide or movie projector. Artograph is probably the most well-know brand, but there are some others out there.
The Artograph EZ Tracer Projector and the more expensive Artograph Inspire Art Projector are good choices for transferring from a printed image.
*Artograph EZ Tracer Projector
*Artograph Inspire art projector
Alternatively, you can get a regular movie/presentation projector from somewhere like Amazon and use that. As long as it will display still images, it should work reasonably well. The projector I’m currently using is of this type. It’s not perfect—since it’s designed to project images onto a very large screen, there’s a limit to how close you can focus, making it difficult to project onto smaller canvases or papers. But, it’s a good option for larger pieces. It’s still usable for smaller pieces but you might have to tweak the image file size or cropping to get it to a size that will be within the range of where the projector can focus.
Another option is to simply create your artwork on top of the reference photo—no drawing needed at all! This probably wouldn’t work well for most paintings, but would be fine for something like collage where you are gluing paper onto paper. Obviously, this isn’t a method you’d want to use if you don’t want your reference photo to be destroyed!
Have you tried any of these options? Do you have any other tips for creating the underdrawing? Let me know in the comments.
Want to stay up to date and see more of what I’m working on? Sign up for my mailing list here and get a FREE digital download of an exclusive tiger linocut print. (I promise not to be spammy with my emails—I hate that too!)
* Please note that this post contains affiliate links and any sales made through such links will reward me a small commission – at no extra cost for you.