Throwback Thursday: Wita’s Gift Limited Edition Print
I picked up some fascinating paper on clearance a while back called “Shell Paper.” It’s a handmade paper with a coating made and emulsion of crushed shell, giving the paper an iridescent surface. It comes in several colors, each made with natural colorants.
I decided to try out the orange paper with my ‘Wita’s Gift’ shadow puppet design, since I thought the black-on-orange would be a great color scheme that would work well with the subject matter. You can get yours here or in my Etsy shop, here.

I have to say, I really like the look! I might try out a few different colors, but the orange is the most dramatic—most of the other colors are more subtle. There’s a yellow and a bright pink that are also pretty vivid, but I’m not sure they would work as well with the design.
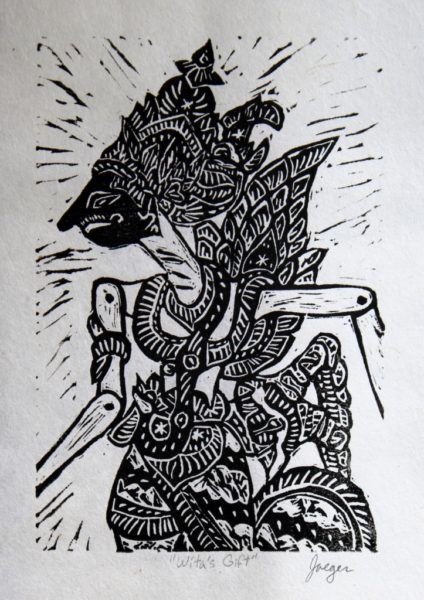
What do you think? Do you like the black and orange or do you prefer the original black and white version?
Want to keep updated and see more of what I’m working on? Sign up for my mailing list here and get a totally FREE digital download of a tiger linocut print. (I promise not to be spammy with my emails—I hate that too!)
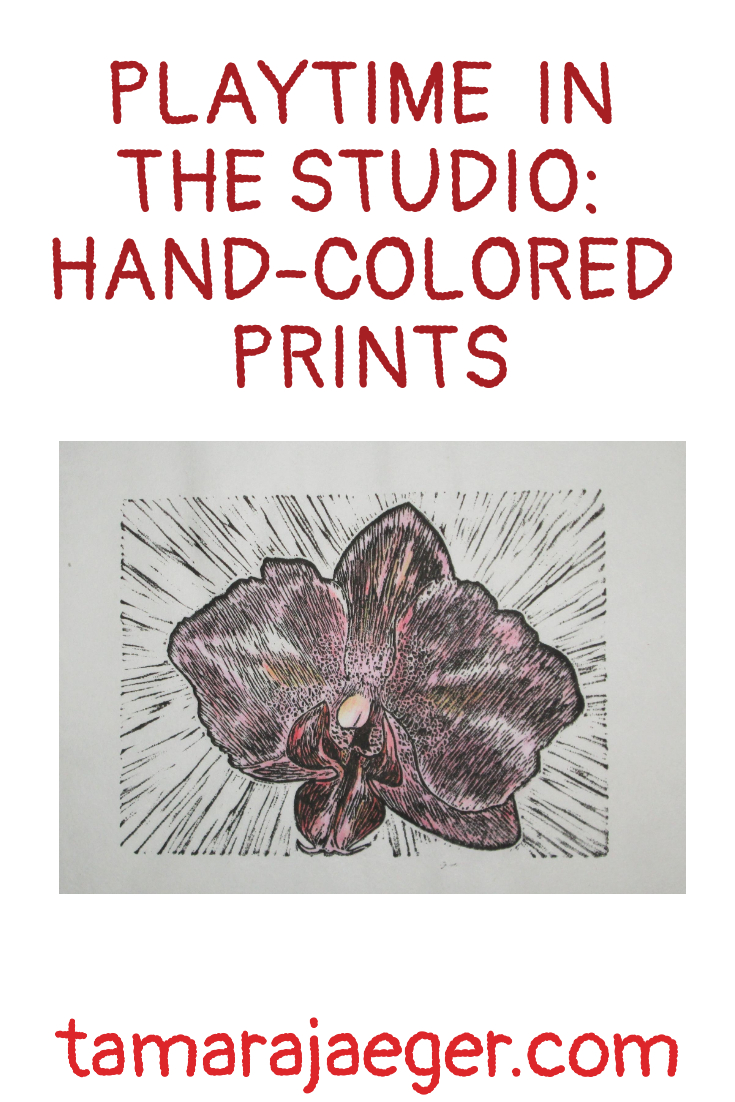
Playtime in the Studio: Hand Colored Prints
There are always a few prints that just don’t come out well. Maybe the ink is uneven, or the paper slips slightly. For whatever reason, not every print is ‘good enough.’ So, what do you do with the bad prints? You don’t really want to just throw them out, but on the other hand, they’re just taking up space and cluttering up the studio.
I decided to use my ‘junk’ prints to test out a few methods of hand-coloring my prints. Who knows, if it turns out well, it might be a nice alternative to offer, instead of just a single color print.
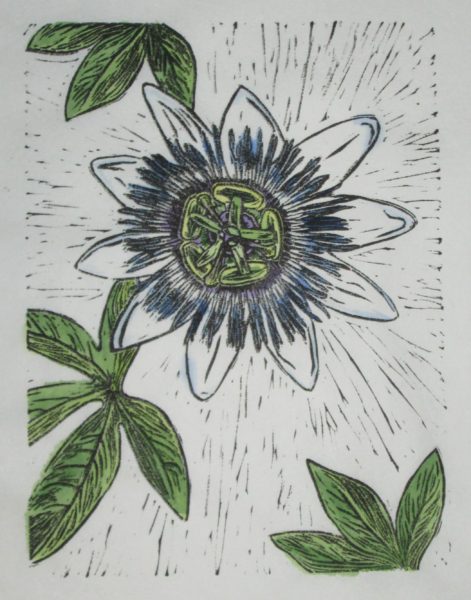
For a first trial, I tested watercolors and Derwent Inktense pencils to color in some of my passion flower prints. Derwent Inktense pencils are a water-soluble pencil that gives an ink-like intense color once wetted. They’re similar to watercolor pencils, but the colors are more intense.

So, here I have a few examples. I’m not entirely happy with either method, though I think I like the Inktense pencils better—the colors are more vibrant and it’s much easier to control where the color goes compared to using watercolors. Watercolor pencils would probably work similarly as far as control, but the colors would be less intense. I might give that a try at some point.
What do you think? Do you like the watercolors or the Inktense pencils better? Or do you prefer the uncolored version? Let me know your thoughts!
Want to keep updated and see more of what I’m working on? Sign up for my mailing list here and get a totally FREE digital download of a tiger linocut print. (I promise not to be spammy with my emails—I hate that too!)
* Please note that this post contains affiliate links and any sales made through such links will reward me a small commission – at no extra cost for you.
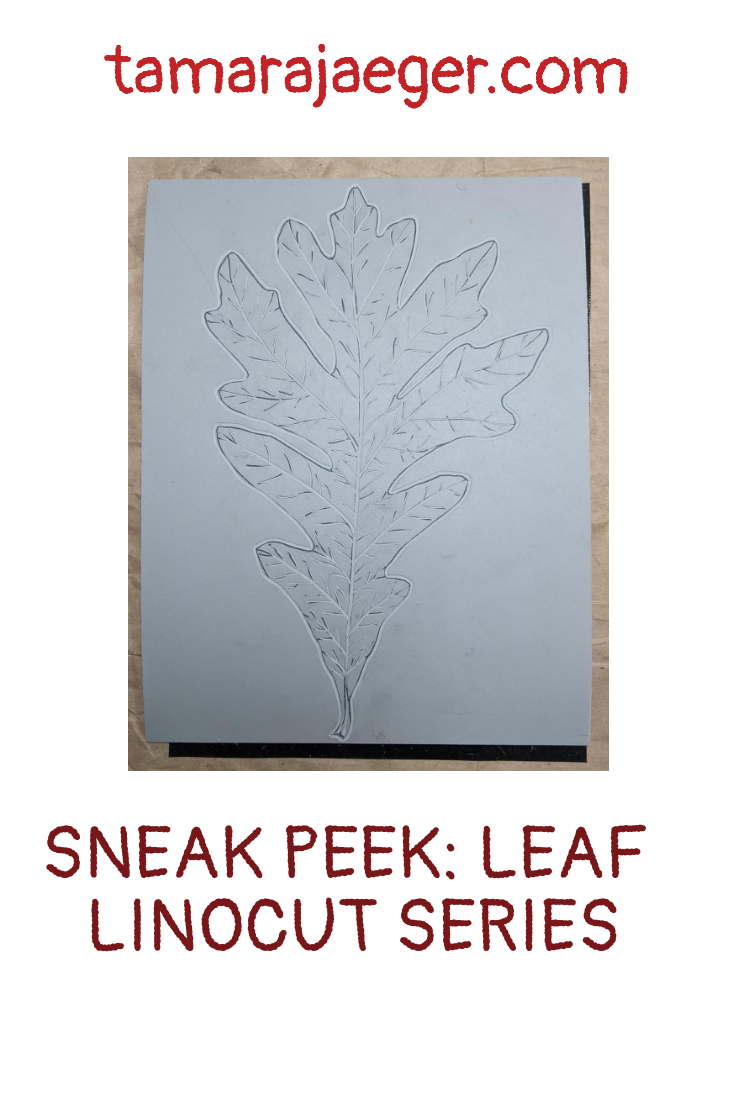
Sneak Peek: Leaf Linocut Print Series
I’ve been making a lot of flower prints lately, which is fine. I like flowers. I’ll have to post some of them soon—I’ve been a bit lax at sharing my newer work on here, though you can always see what I’m up to on my Instagram. Feel free to follow me there @tamarajaegerfineart !
But for a bit of a change, I’m currently planning out a series of leaf prints. All the fantastic colors last fall inspired me! I collected a bunch of neat-looking leaves to use as references and I’m all fired up and ready to get started!
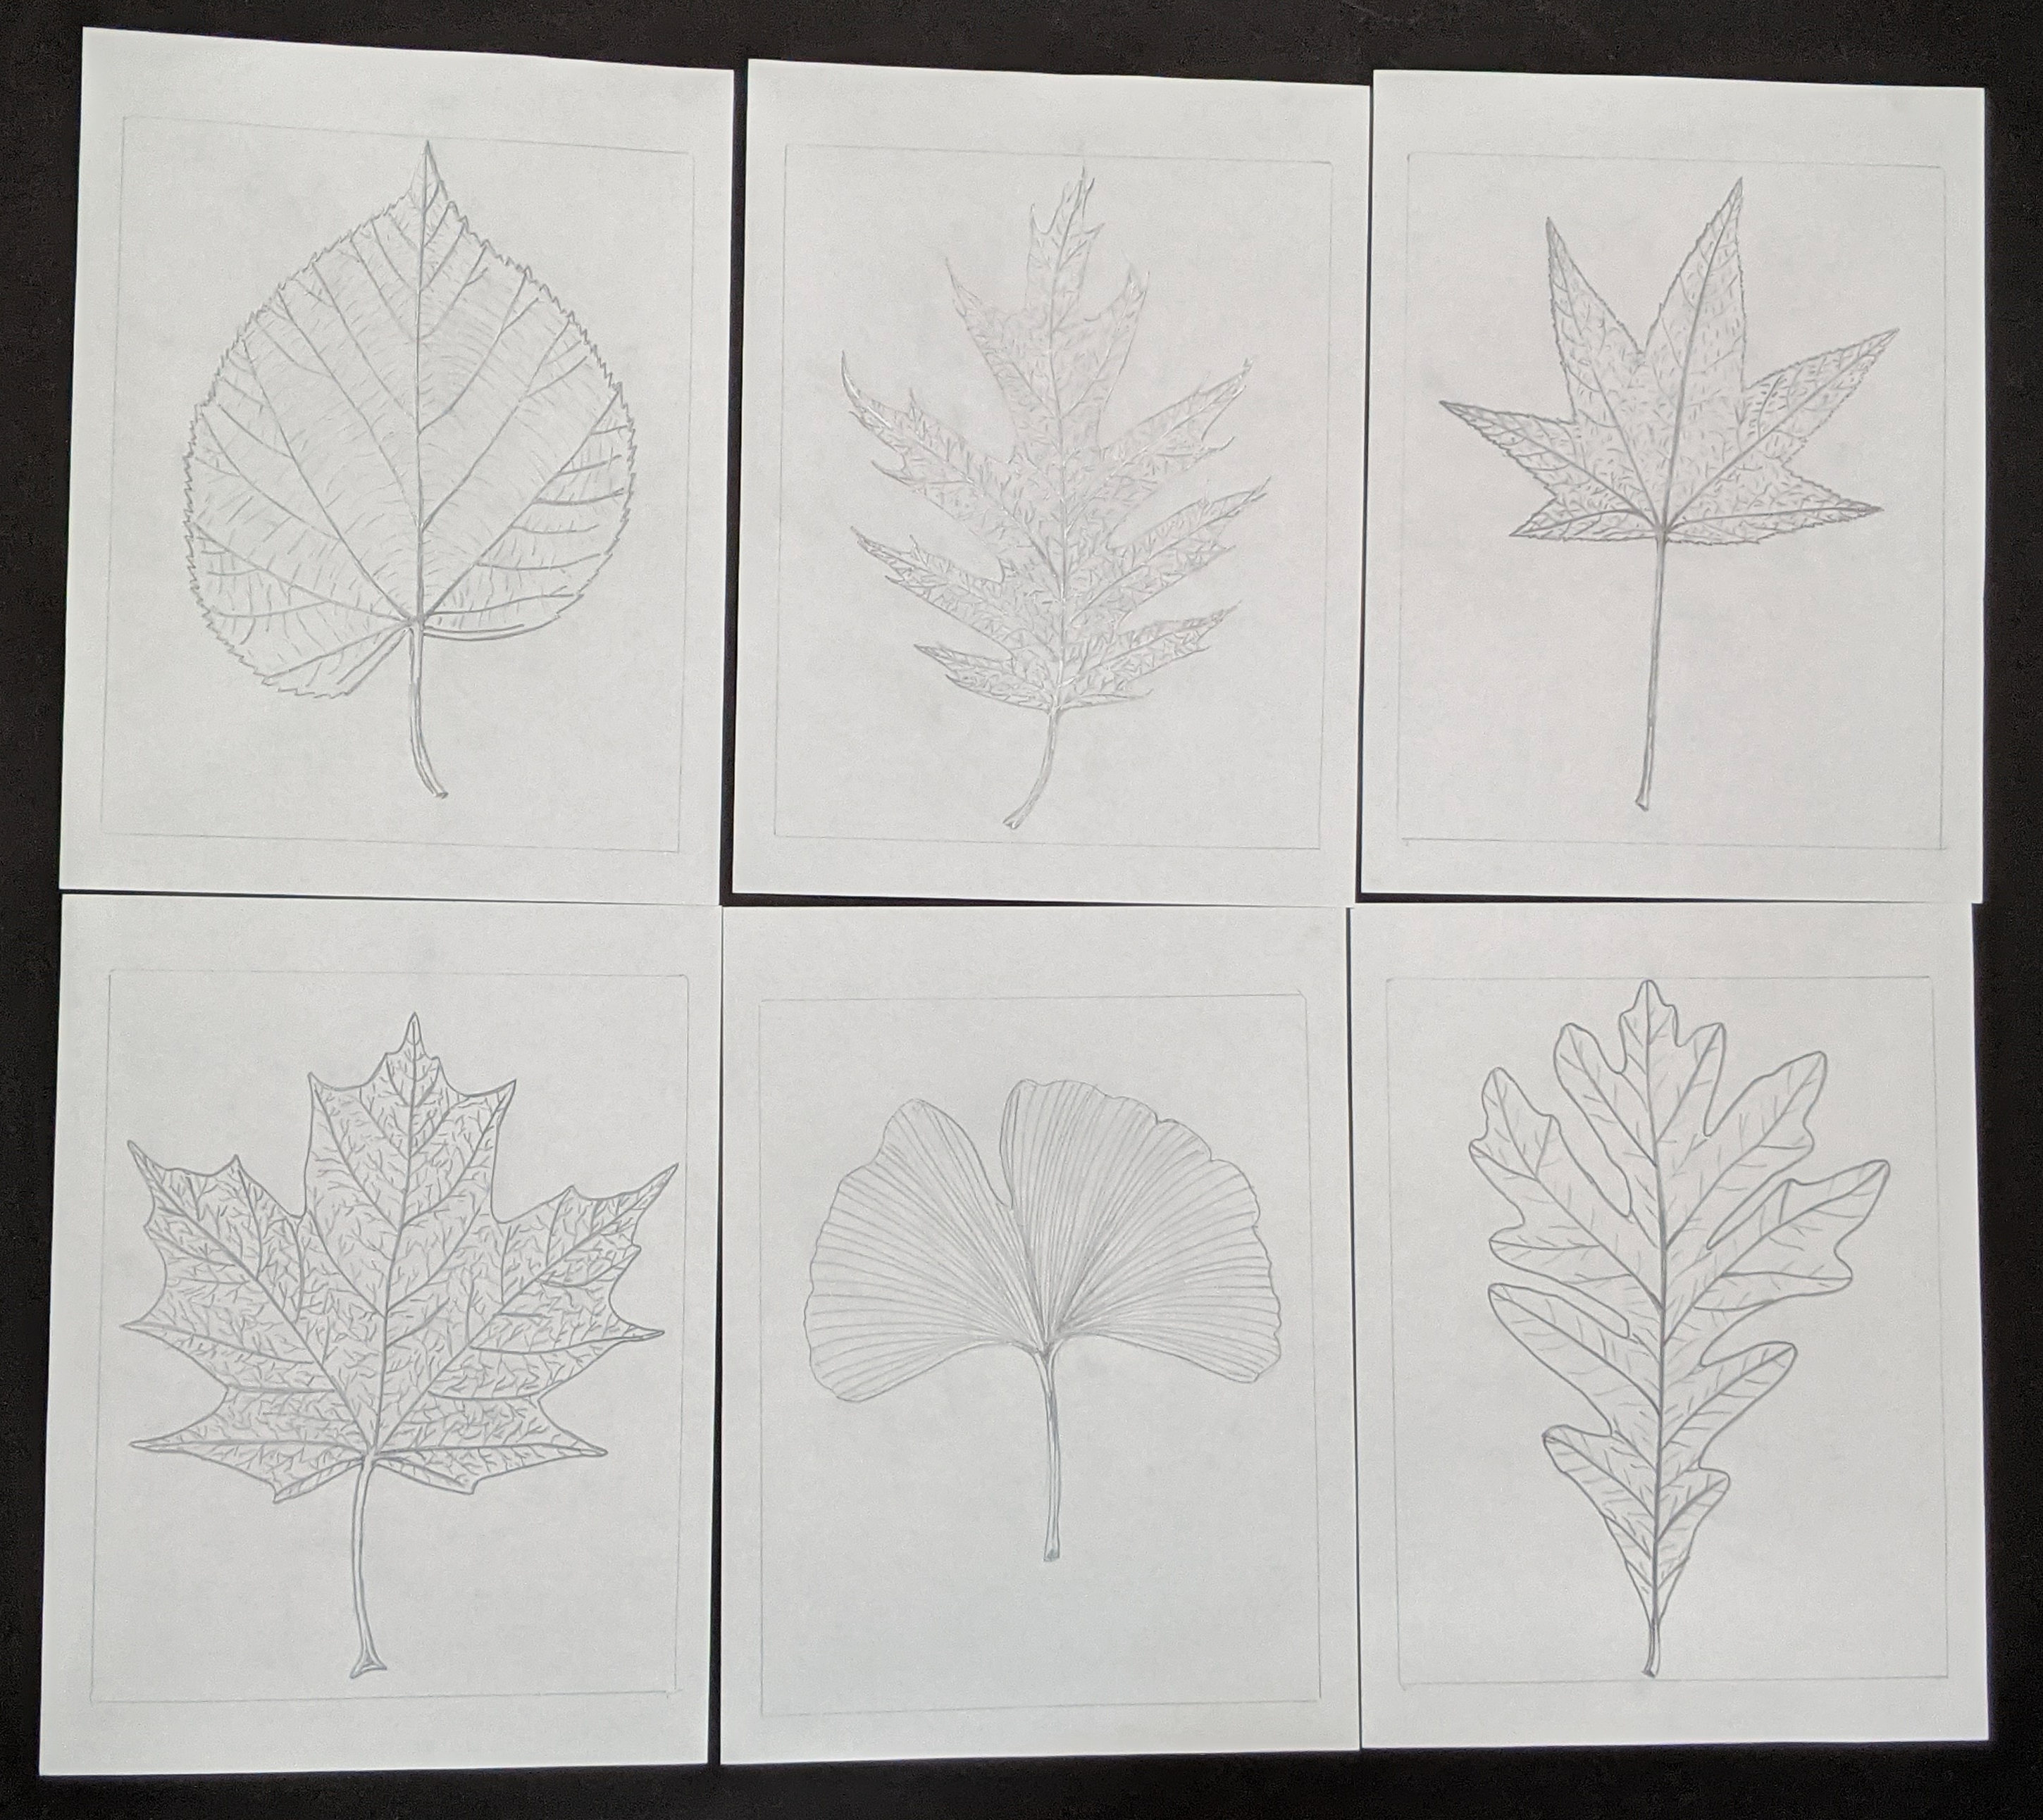
In addition to my standard black ink on white paper, I’m thinking about trying out some colors—maybe green on white paper. I’m also planning on trying out more of a variable color, with yellow, red, and green printed at the same time, which should give a neat effect, with the colors of each individual print being different and unique from the others. I also have some cool-looking colored paper that has an iridescent surface made from shell emulsion that I think would work well. There are so many possibilities!
What color schemes and leaf types would you want to see? Tell me in the comments.
Want to keep updated and see more of what I’m working on? Sign up for my mailing list here and get a totally FREE digital download of a tiger linocut print. (I promise not to be spammy with my emails—I hate that too!)

Product Review: Flexcut Lino and Relief printing carving tools
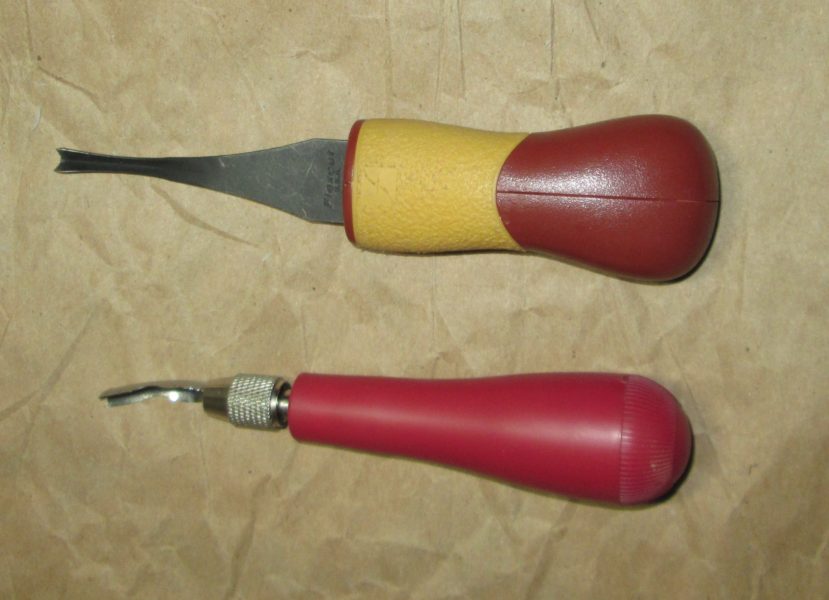
In my quest for a more enjoyable printmaking experience, I decided to look into upgrading my carving tools. Like with the wooden spoon I talked about here, I’ve been using the same student-grade carving tools I learned on. In particular, I’ve been using the Speedball linoleum cutters.
The Speedball cutter has a plastic handle with interchangeable blades in various shapes and sizes. The cutters do get dull eventually and you can either try and sharpen them a few times with a sharpening stone or just toss the blade and replace it with a new one. The replacement blades are fairly inexpensive and both the handle and the blades are relatively easy to find.
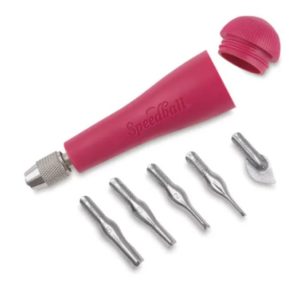
I don’t have any major issues with the Speedball cutters. They work well enough and the handle has a little storage compartment for the blades, which makes it compact and easy to store. But, I thought, why not try something new?
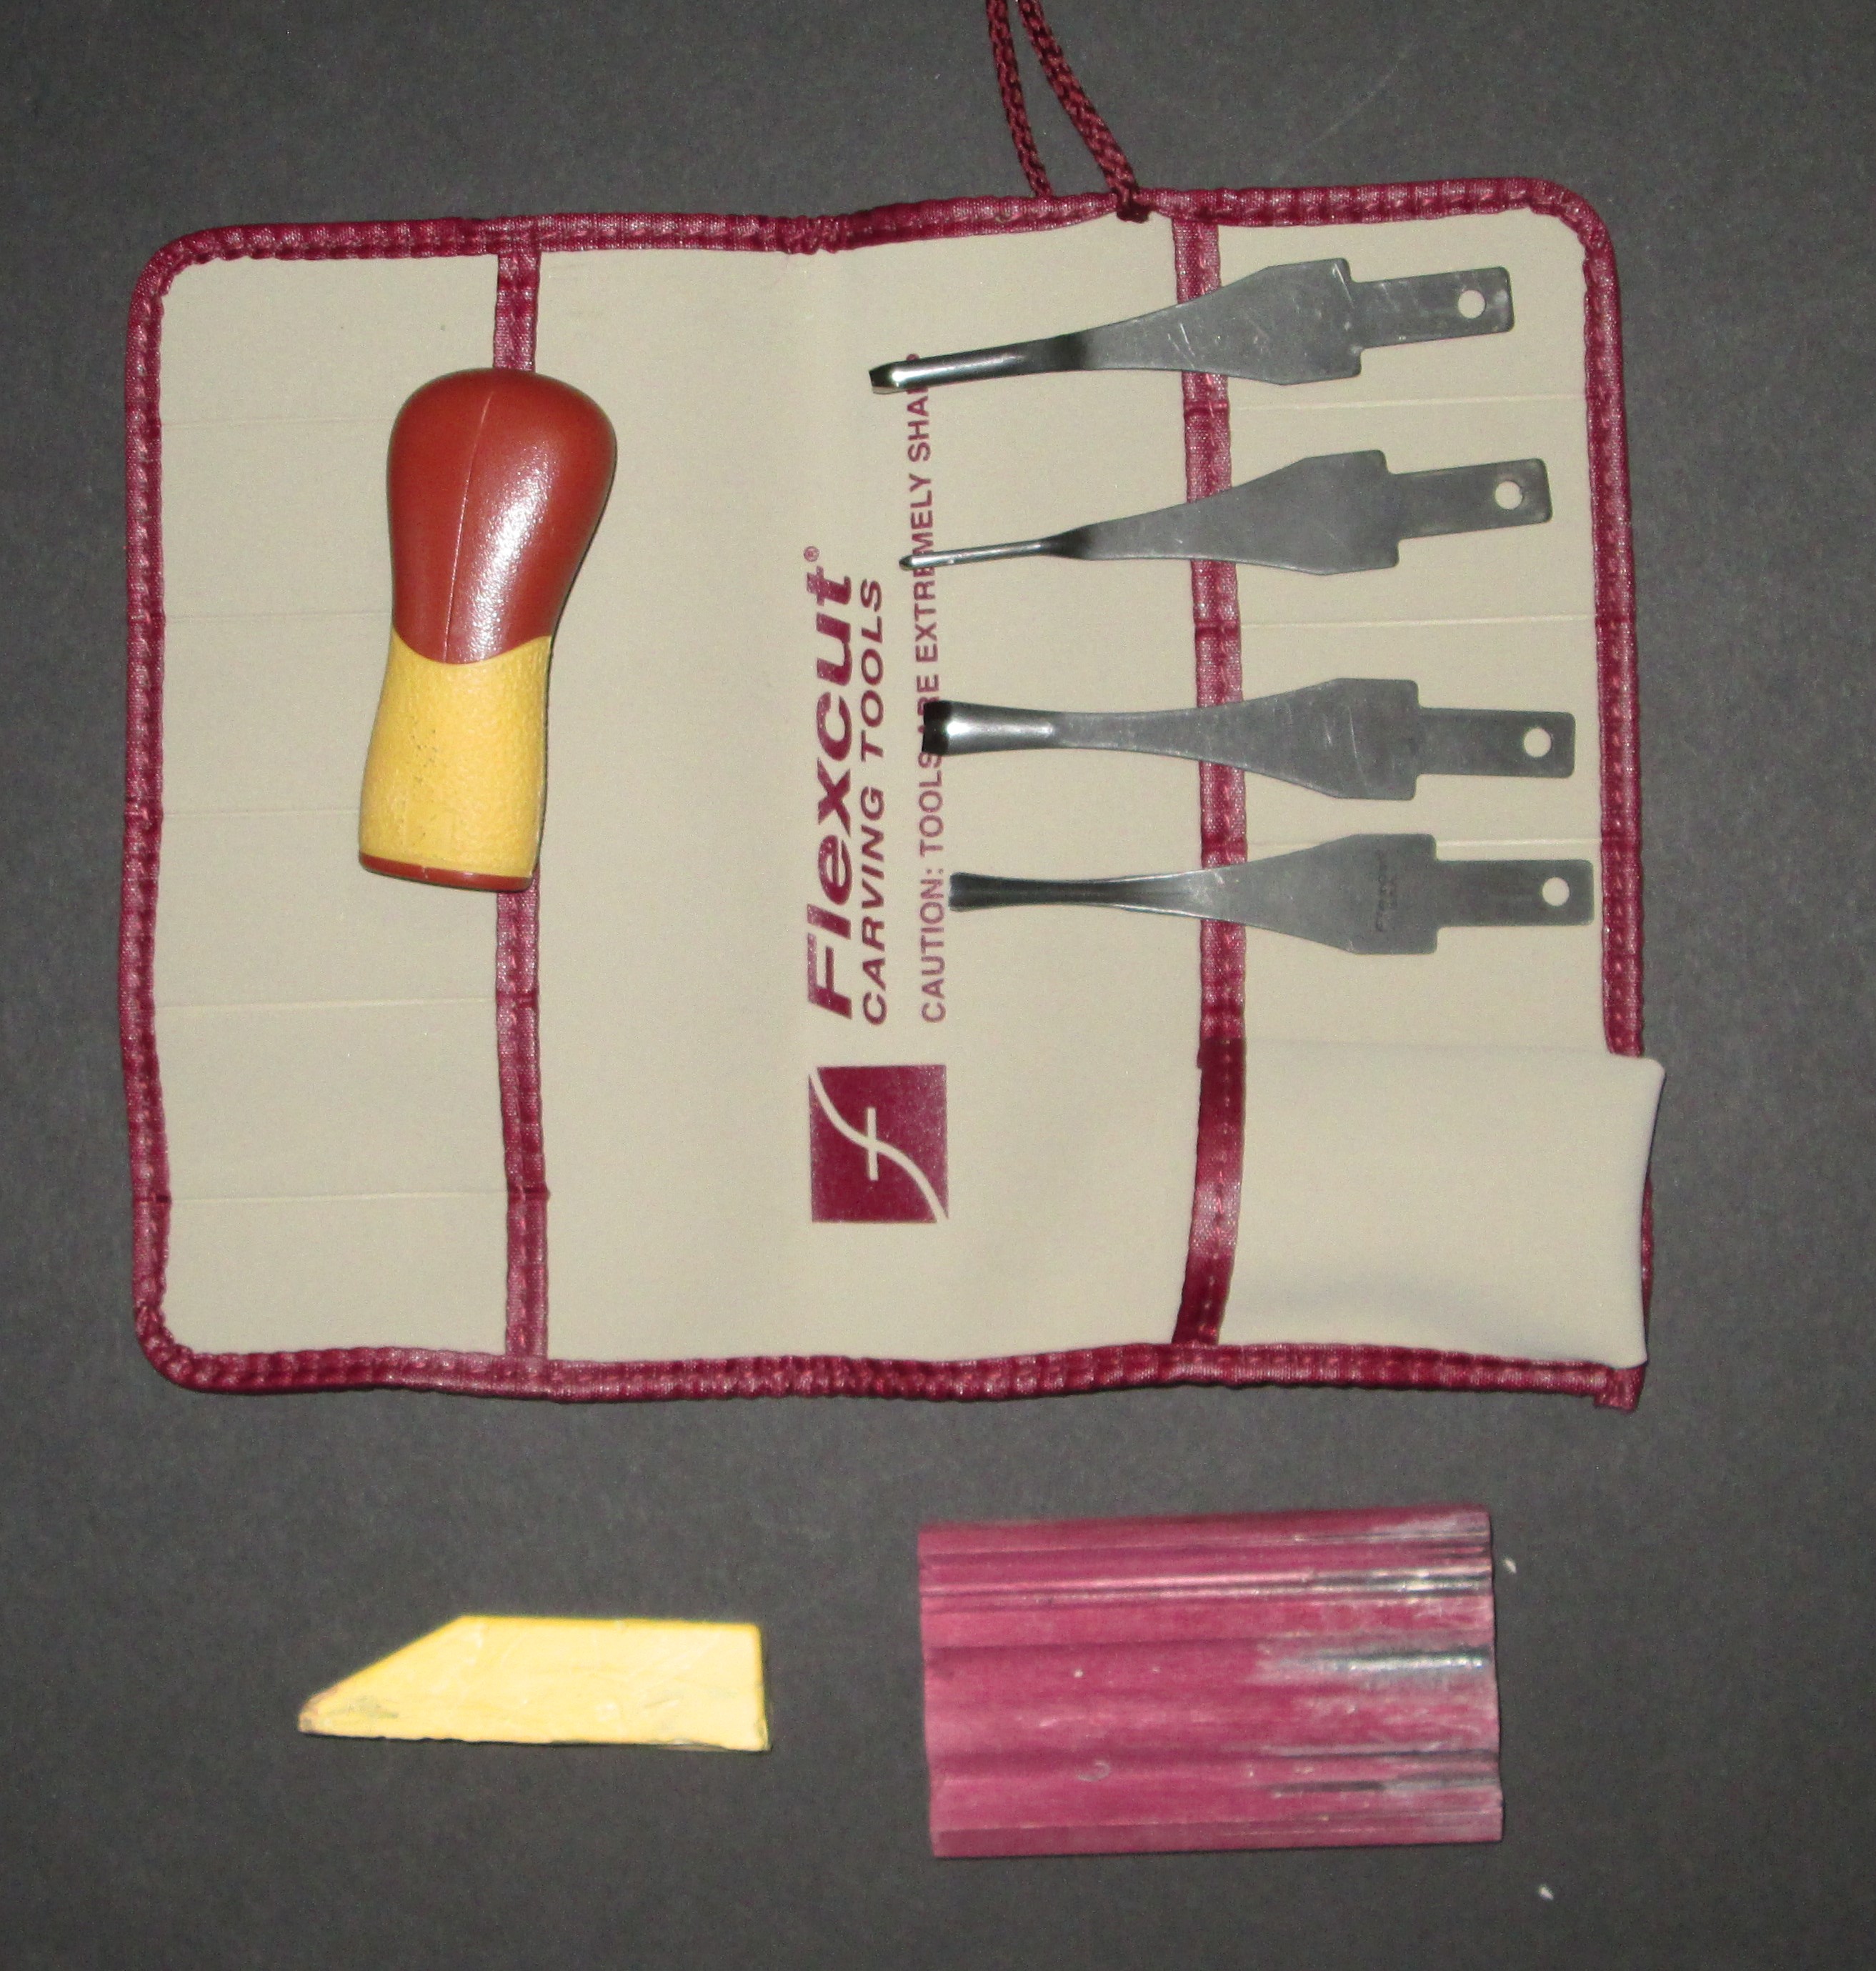
For my first excursion into the realm of new carving tools, I got the Flexcut Lino and Relief printmaking set. It’s not hugely expensive, but still a bit of a shock compared to the Speedball cutter. The set comes with four interchangeable blades of various sizes and shapes, one handle, a tool roll to hold the pieces, and a wooden strop and polishing compound for sharpening the blades.
Well, I tried them out and… I hate them. Absolutely detest them. I was so disappointed; the reviews were decent and they looked like they’d work well. Now, you might have a very different opinion—they’re a popular choice so it’s clear that many people Do like them. But I’ll tell you why I dislike them so much.
First, while they start off nice and sharp and carve through the linoleum well, they don’t seem to hold an edge well at all. I found myself having to hone them every few strokes in order to keep them cutting easily. The Speedball cutters definitely seem to hold an edge better. But that may just be a difference in the sharpness of the tools. Perhaps a slight dulling of the Flexcut tools is more apparent than with the Speedball cutter, since the Flexcut ones are sharper to start with.
Second, the handle shape and size doesn’t work for me. At all. I had to hold my hand and wrist at an awkward angle that I quickly became excruciating (I injured my wrist way back when I was a teenager, and it still give me quite a bit of trouble, so the ergonomics of my tools is very important). The handle doesn’t look all that different in size compared to the Speedball cutter handle, but clearly, it’s different enough to be an issue for me. I found the least painful way of holding the tool was to put the blade in so that the handle was upside down—there’s a curve to it so that if fits in your palm better. I got a better angle with the ‘underside’ against my palm. It was still painful, but less so.
Another thing to take into consideration is that, while the blades are interchangeable, they fit Very tightly into the handle. While this means they’re not going to accidentally come loose, it does make it quite tricky to change the blade. Patience and a fair bit of hand strength is required. On a side note, it appears that you can purchase different styles of handle that fit the blades, so that’s an option I might look into in the future. The handles are fairly expensive though.
I don’t think I’ll be using these tools again since they simply don’t work for me. For now, it’s back to my trusty old Speedball cutters. But, I’ll definitely keep searching. There are so many different styles of carving tools; something has to work!
Now, don’t let my review scare you away from trying the Flexcut Lino and Relief printmaking set if you’re so inclined. Like I said, there are plenty of good reviews, so it works for a lot of people. And if you do try it, let me know what you think!
Want to keep updated and see more of what I’m working on? Sign up for my mailing list here and get a totally FREE digital download of a tiger linocut print. (I promise not to be spammy with my emails—I hate that too!)
* Please note that this post contains affiliate links and any sales made through such links will reward me a small commission – at no extra cost for you.
Throw Back Thursday: Tiger Linocut Print
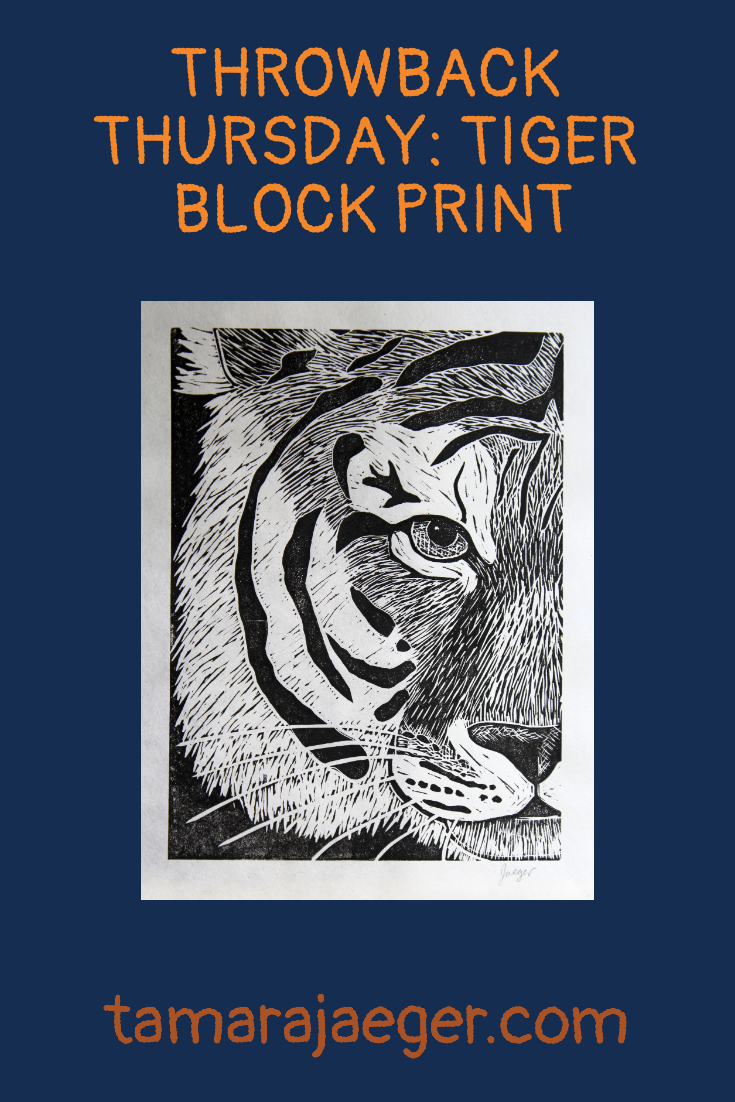
This is still one of my favorite linocut prints. It’s based on a tiger at the Beardsley Zoo in Connecticut. The original version of this print was done using a water-based ink but I’ve since switched to a water-soluble oil-based ink and greatly prefer it!

It’s a great, timeless piece in a striking black and white monochrome. I’m thinking of making another, similar tiger print. Wouldn’t that make a great pair? In the meantime, however, you can grab this fine gentleman right here in my shop or, if you prefer, over here in my Etsy shop.
Want to keep updated and see more of what I’m working on? Sign up for my mailing list here and get a totally FREE digital download of a tiger linocut print. (I promise not to be spammy with my emails—I hate that too!)
Must-Have Printmaking Tools: Baren
For years, I’ve gone the cheap route for hand-printing my linocuts. I was first shown how to print them using the back of a wooden spoon to rub the back of the paper and transfer the ink from the block. Wooden spoons are cheap and easy to come by, unlike a printing press!
We Did use a press when I took printmaking in college though, and I admit that I like that a lot more. I’m considering investing in a small printing press at some point, but we’ll see. Add it to the wish list!
So, I’ve been printing all my linocuts by hand with a wooden spoon all these years and it works fine. But I kept finding that I’d put off making the actual prints once I was done carving the block. I hated printing by hand! It’s awkward and you have to use a lot of pressure and weird angles. My hand and wrist were always sore afterward.
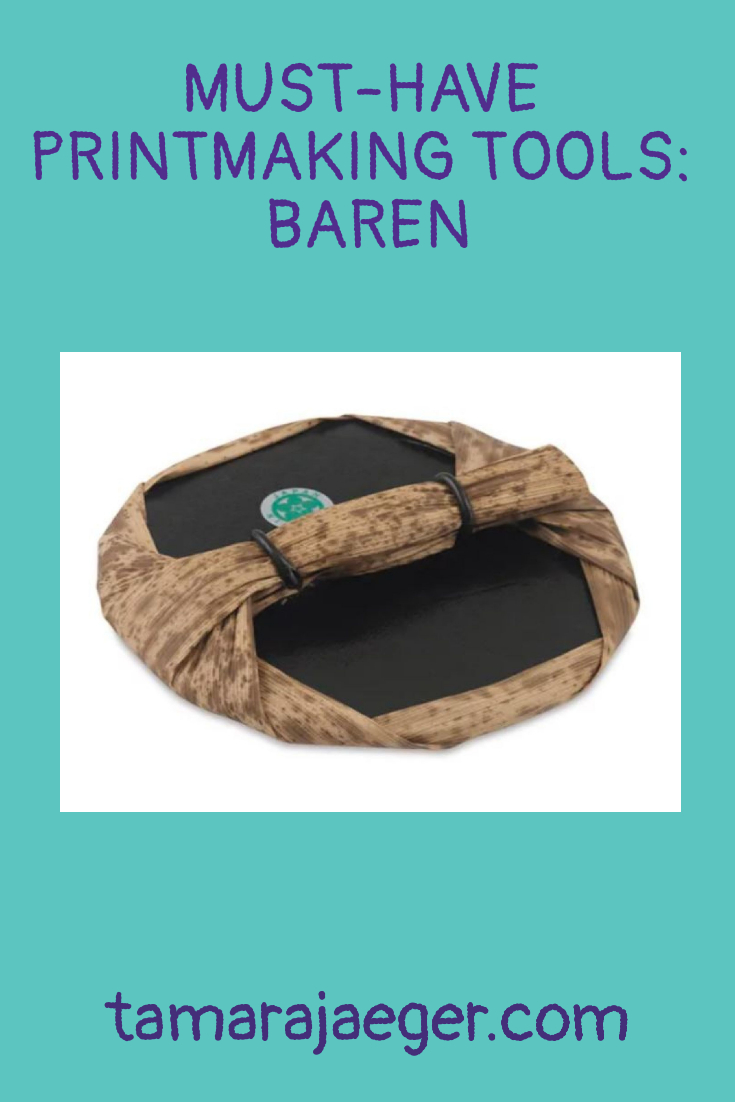
Then one day, I decided to splurge and try out a baren for printing. Now, if you’re not familiar with a baren, it’s a flat, smooth disk with a handle that is used to apply even pressure over the surface. You ink your block, place the paper over the top, and rub with the baren. Unlike a wooden spoon, the surface of a baren is flat and you apply pressure downward directly from above, so you don’t need to use as much force and you’re not applying it at strange angles.
There are several different types of barens available. The only one I’ve seen in stores is the Speedball Baren, which is a large, bulky-looking plastic item with a Teflon coating. I’ve never tried it so I’d be curious to know what other people think of it.

I’ve also seen glass barens and some (really expensive!) Japanese ones that have hundreds of ball bearings along the surface. I’d actually love to try one of those, but they run about $250+ so that’s probably not going to happen anytime soon. There are also less expensive versions made of plastic with little bumps over the surface.

What I eventually decided on was the Yasutomo baren, which is an inexpensive Japanese-style baren made of lacquered cardboard (I think some are actually plastic) covered with bamboo bark, with a bamboo bark handle. The bamboo covering does wear out eventually, but it can be replaced. If you have one of the less expensive bamboo barens, you could just replace the entire thing. If you have one of the more expensive versions, it’s probably worth it to replace just the covering.


They come in several sizes and I’d recommend getting the larger one. Most of my print blocks are on the smaller size, but the larger baren is perfect. I haven’t tried printing a really large block with a baren yet, so I can’t really comment on its performance for that.
I like that the bamboo baren is thinner than the Speedball baren, which makes it easier to store. I do notice that the little ties around the handle sometimes shift when I’m using it. I suspect if I splurged for one of the more expensive bamboo barens, that wouldn’t be an issue. It’s a minor annoyance.
I sometimes find that I get ink bleeding through the paper and onto the baren’s surface when I’m using very thin paper, so that’s something to be aware of. Typically, I’ll put a piece of tracing paper over the printmaking paper and rub the baren over that. It also helps reduce friction and wear on the paper, since the bamboo bark has slight ridges. In a pinch, I’ve used plain printer paper. For thicker paper, there shouldn’t be any problem with ink transfer so you can just use the baren directly on the printmaking paper. Overall, my bamboo baren is a thousand times better than using a wooden spoon, and I find that I don’t really mind printing my hand anymore. Success!
Have you ever tried a baren for printing? How do you (or would you) make your prints? Tell me in the comments below!
Want to keep updated and see more of what I’m working on? Sign up for my mailing list here and get a totally FREE digital download of a tiger linocut print. (I promise not to be spammy with my emails—I hate that too!)
* Please note that this post contains affiliate links and any sales made through such links will reward me a small commission – at no extra cost for you.
Throw Back Thursday: Octopus Block Print
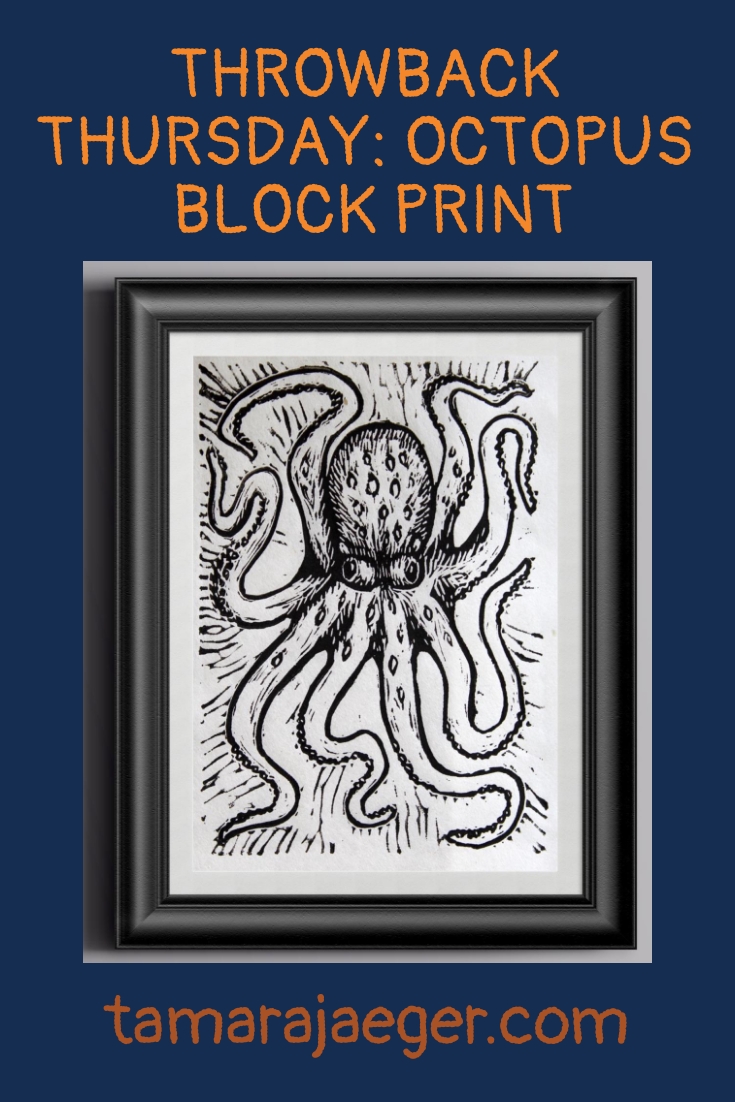
I first made this fun little guy a few years ago. It was carved into one of those weird, rubbery linoleum-alternative blocks.
I’ve tried out a couple of them and they’re decent enough. Soft and easy to carve. I’ve heard people complain that you can’t get good detail using the softer material, but I’ve never had any problems carving fine details. I will admit that I prefer linoleum though.
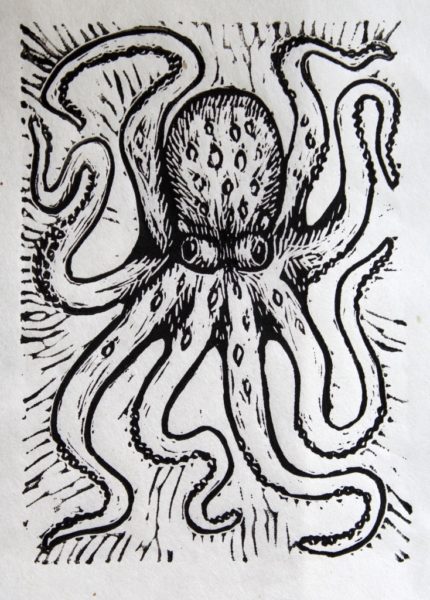
The original version of this print was done using a water-based ink but I’ve since switched to a water-soluble oil-based ink and greatly prefer it!
Spruce up any room with a dash of nautical flair and grab yourself this playful octopus print right here in my shop or, if you prefer, over here in my Etsy shop.
Want to keep updated and see more of what I’m working on? Sign up for my mailing list here and get a totally FREE digital download of a tiger linocut print. (I promise not to be spammy with my emails—I hate that too!)
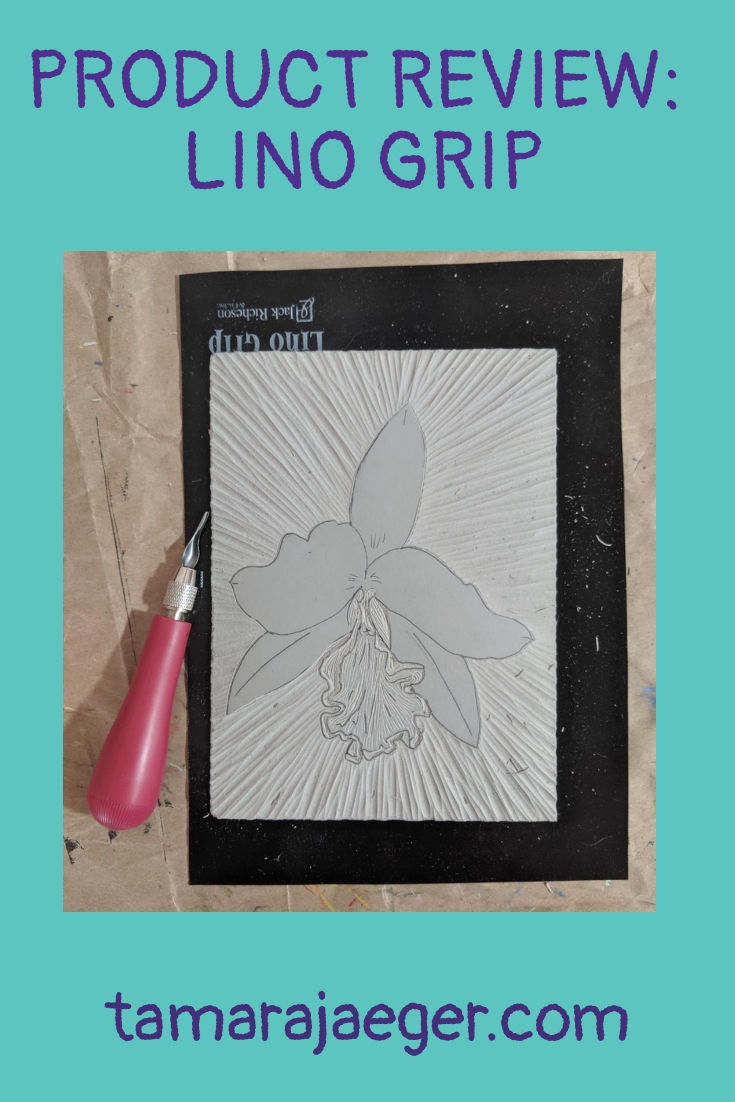
Product Review: Lino Grip
It happens to every printmaker at some point—you’re delicately carving away at your printing block and suddenly your block slips! Now there’s a big gouge right across your carefully carved design.
If you’re lucky, you can salvage it. Change the design slightly to accommodate the new line. Other times you have to start over from scratch.
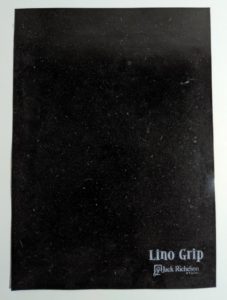
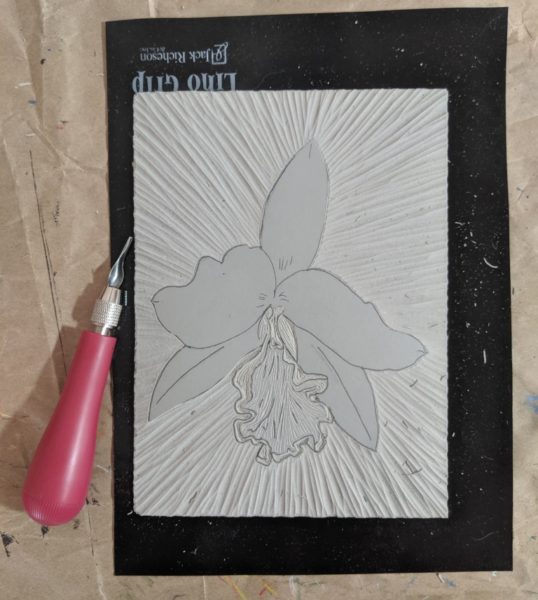
Several years ago, I ran across this little gem: Lino Grip by Jack Richeson. It’s a black plastic sheet that’s slightly sticky on both sides. You place it on your work table, then place your linoleum block on top. The tackiness of the surfaces helps to hold your block in place while you carve.
I confess that I’ve only recently tried out my Lino Grip sheet. I got it on sale shortly before I moved (“Hey, what a great idea! I’ve got to try it out!) and only recently rediscovered it when I dug out my printmaking supplies.
And I’m actually very pleased with it. It has enough tack to hold my linoleum block in place against the force of my carving without being too sticky or making it difficult to move or rotate the block. No slipping blocks here!
I’ve noticed a couple drawbacks. One is the size—it might be too small to hold a very large block in place. Though larger blocks seem to be less prone to slipping anyway, due to their larger contact area with the tabletop. I’m not sure if it comes in multiple sizes or not.
Another drawback—more of a mild annoyance, really—is that the tacky surface picks up lint and linoleum crumbs. It’s difficult to get and keep clean. I haven’t tried washing it yet—that might remove the debris without damaging the tackiness. I also suspect that the tackiness will eventually wear off. I’ll definitely update you if I notice that happening!
In the meantime, it’s time to carve!
Have you ever tried Lino Grip or anything similar? How do you hold your block in place for carving?
Want to keep updated and see more of what I’m working on? Sign up for my mailing list here and get a totally FREE digital download of a tiger linocut print. (I promise not to be spammy with my emails—I hate that too!)
* Please note that this post contains affiliate links and any sales made through such links will reward me a small commission – at no extra cost for you.
Playtime in the Studio
So, I haven’t actually had a lot of free time to play in my studio lately. Hoping that will change soon; we’ll see.
Several months ago I thought I’d try keeping a gratitude journal. I’ve heard all kinds of good things about them. But I didn’t really feel like straight up journaling. I’ve journaled in the past, and while it’s not quite the same thing, I’ve always found it difficult to keep consistent.
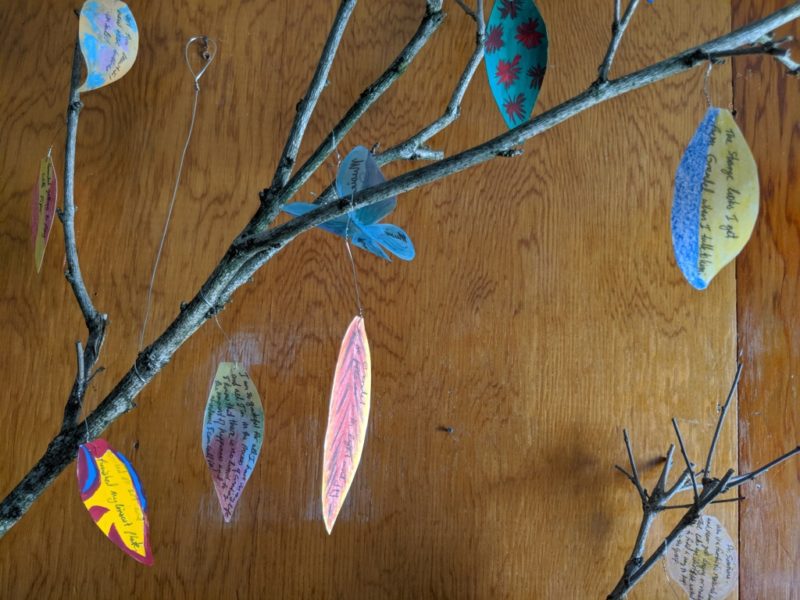
But then I thought, why not make some sort of visual gratitude journal? And so the gratitude tree was born! I liked the idea of creating small pieces that I could add to my tree and watch it ‘grow’ over time.

I have several shapes and paper types of blank ‘leaves’ as well as a number of blank butterfly shapes because, why not? So when I have my things I’m feeling grateful for, I can just select a shape, write out my gratitude, decorate it however I want, and hang it on my ‘tree.’
It’s a fun way to keep reflect on the good things in my life and it serves as a reminder whenever I see my gratitude tree, which is currently hanging on a wall in my studio.
Do you keep a gratitude journal? What has your experience been? Tell me in the comments.
Want to keep updated and see more of what I’m working on? Sign up for my mailing list here and get a totally FREE digital download of a tiger linocut print. (I promise not to be spammy with my emails—I hate that too!)
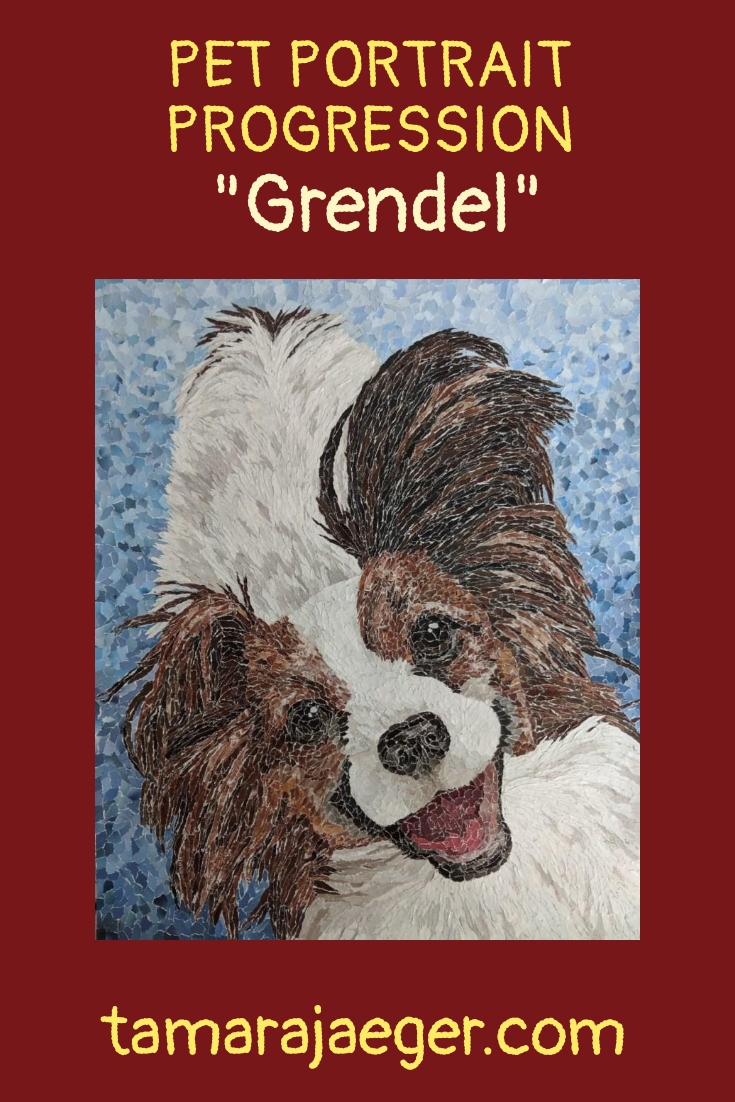
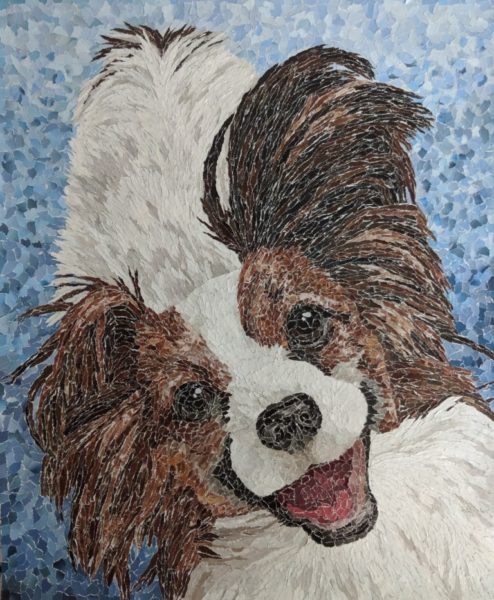
Custom Pet Portrait Progression: Grendel
I thought it might be interesting to put together a series of images to show the progression of my recent portrait of my Papillon, Grendel, so you can get a behind-the-scenes look at the process of creating a custom pet portrait.
This post is a little on the long side, but don’t worry–it’s mostly pictures!
This is the reference photo I as working from.

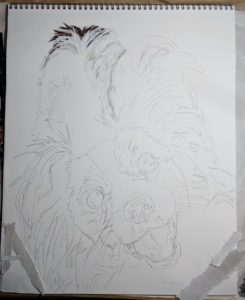
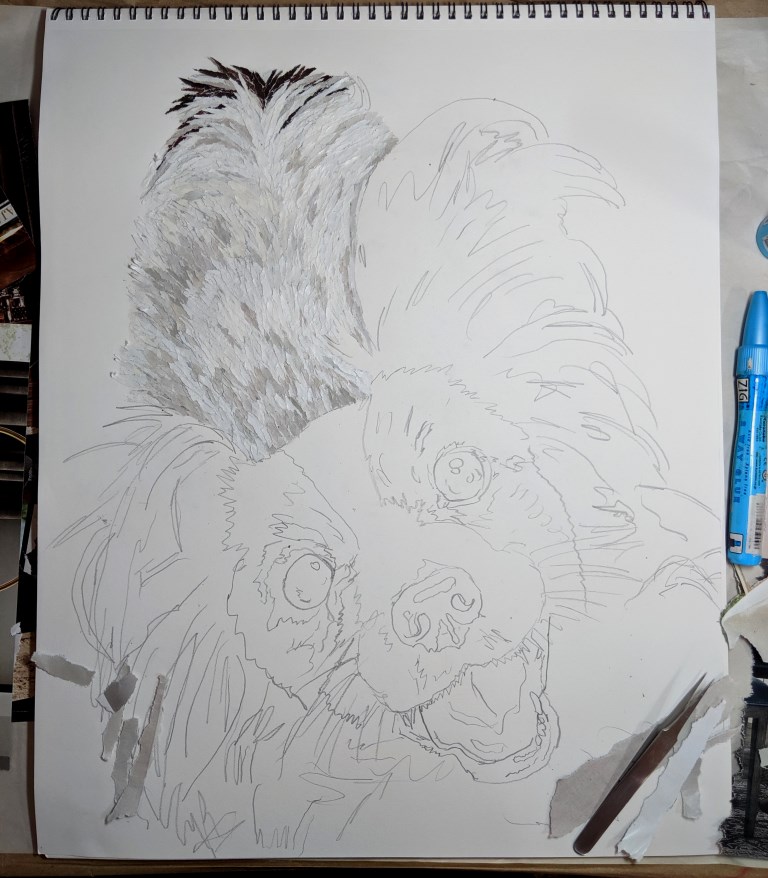
And here’s the initial drawing, all ready to go.

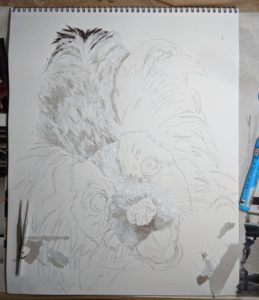
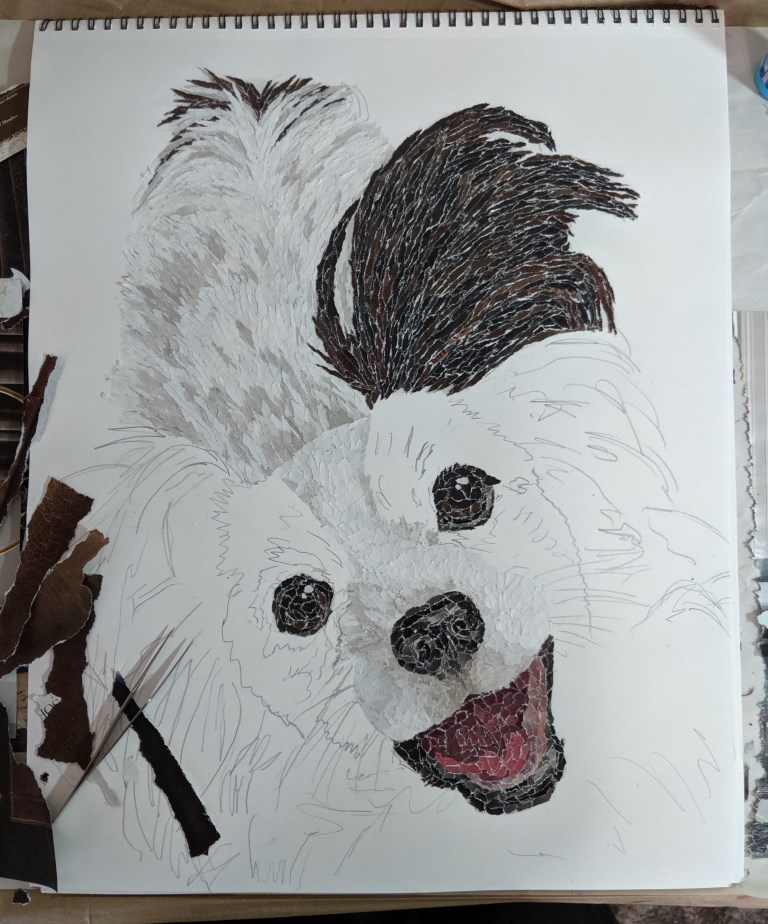
I started with Grendel’s tail and worked up his back toward his head, so I could work with the way the fur overlaps.
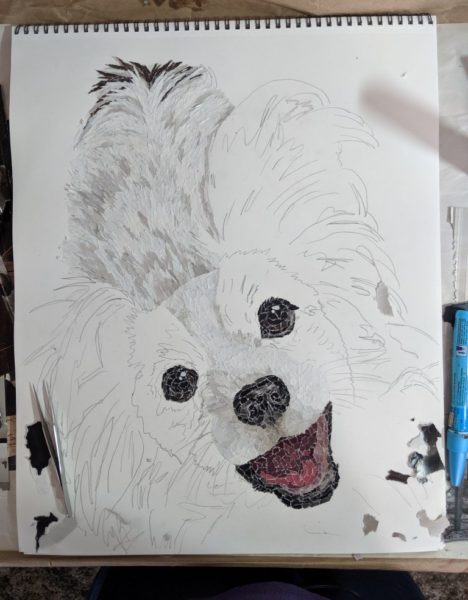
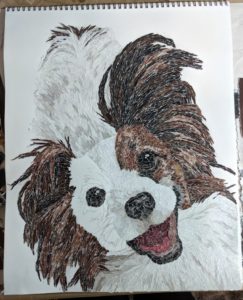
Then I worked on the white part of his face and filled in his eyes and nose.

I didn’t like how the darker area under his nose looked, so I lightened it up then moved on to the mouth.
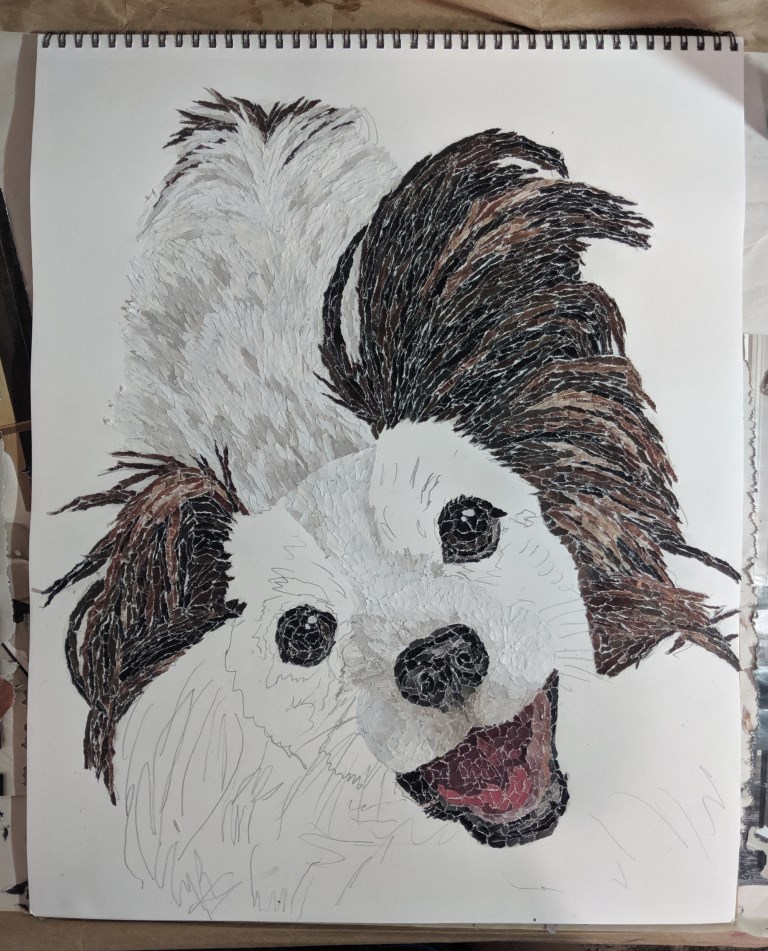
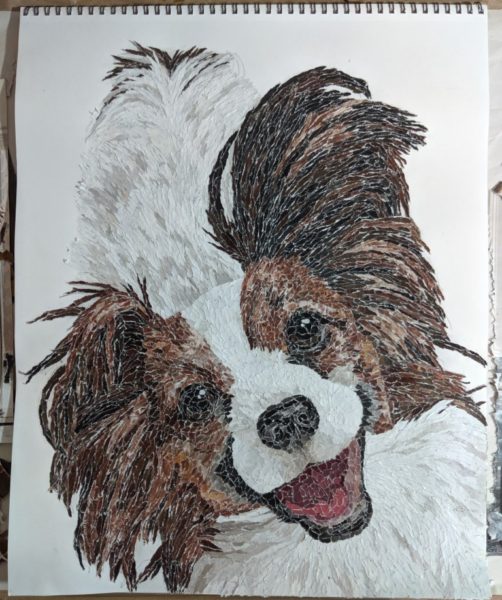
Working on the ears. This little guy has a lot of ear!
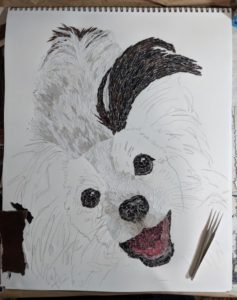
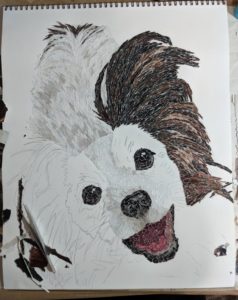
Filling in the brown areas of his face. Now it’s really looking like Grendel!
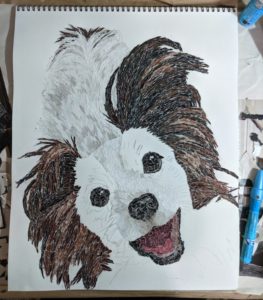
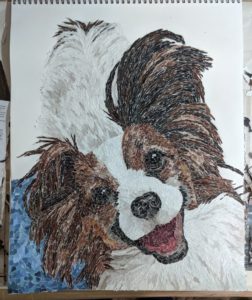
He’s almost done. Now it’s time to start on the background.
Building up the background. I find green and blue make good background colors for many of my portraits. They provide a nice color contrast that allows the pet to show up well and look natural.
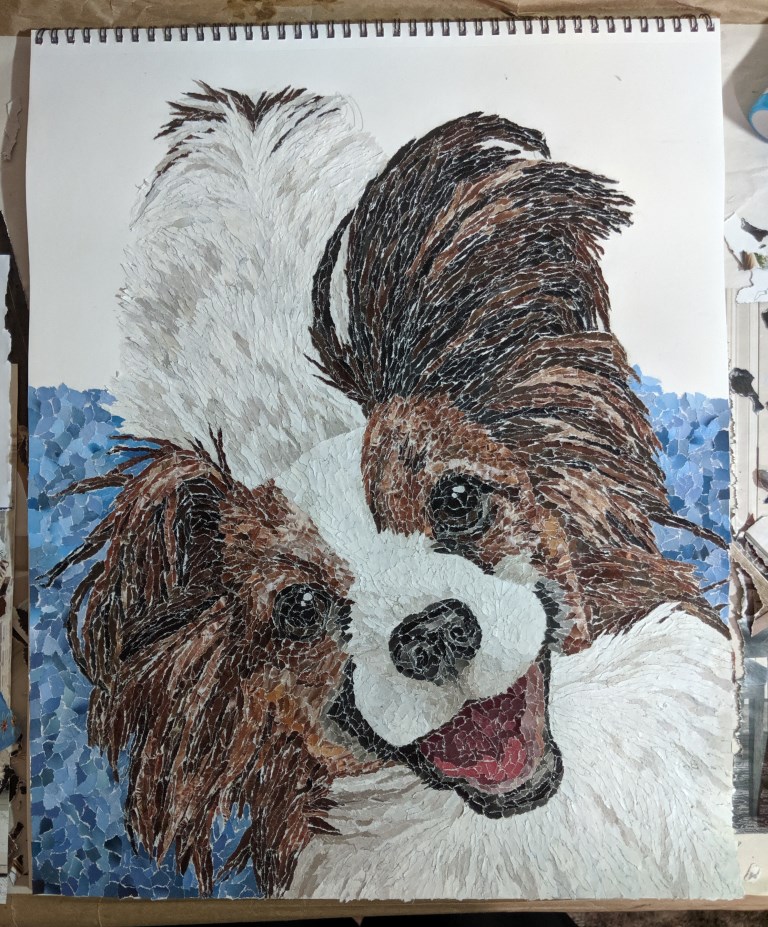
I didn’t like the unevenness in the background color between the left and right side, so I tweaked it. One of the great things about this medium is that you can always add another layer on top.

All done, and it looks fantastic!
Would you like a custom portrait of your own pet? You can check out the process here or email me at tamara@tamarajaeger.com with any questions!
Want to keep updated and see more of what I’m working on? Sign up for my mailing list here and get a totally FREE digital download of a tiger linocut print. (I promise not to be spammy with my emails—I hate that too!)