Posts Tagged: product review
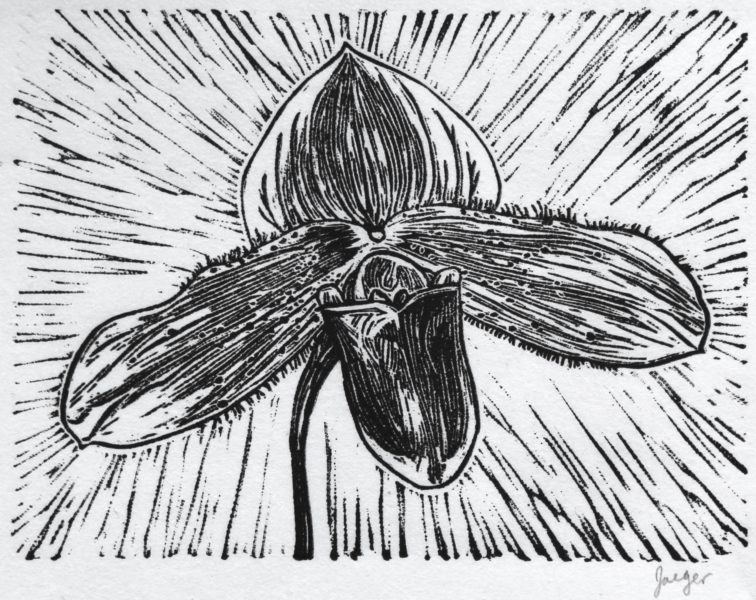
Product Review: Flexcut Micro Palm Carving Tools
In a previous post, I talked about my experience with Flexcut Lino and Relief printing carving tools here. Now, I didn’t like those tools At All. But I decided to give Flexcut another try. My main problem with the Lino carving set was the length and shape of the handle, and Flexcut has a much larger line of “Palm” tools, which looked to have a much shorter handle that fits easily into your palm.
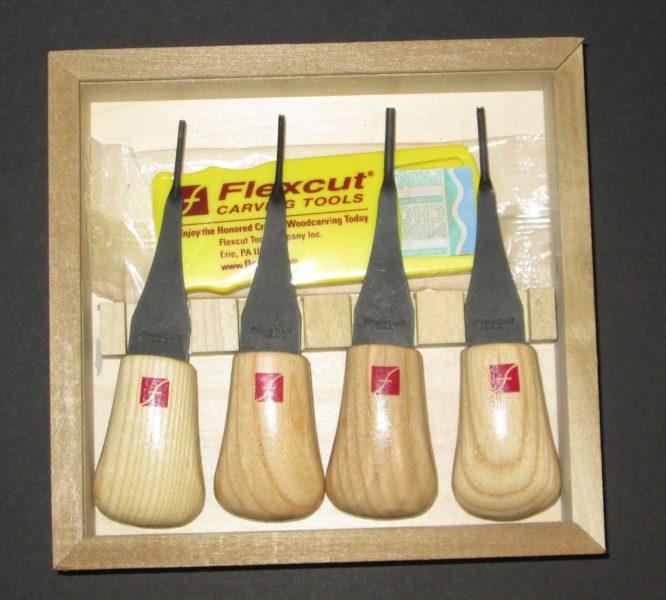
I do a lot of fine detail work in my linoleum prints, so I decided to try the Micro Palm Carving tool set. You can also get a “Beginner’s” set to start out with. The Micro set comes with four different, very tiny U- and V-shaped tools. They’re not cheap though. I was pretty nervous about the investment, especially considering how much I disliked the (cheaper) lino carving set. What if I also hated these and wasted so much more money?
So, I tried them out and I love, love, LOVE these tools! It was a totally different experience than with the lino carving set. The right shape and size of tool makes all the difference! I’m going to have to get a few more of the sets, I think. What I really need now is a wide gouge to carve out large areas of the block—I had to switch back to my Speedball cutter for that and it made me sad.
The Palm carving tools cut through linoleum like butter. I’ve always been a bit skeptical of that particular phrase, but it absolutely fits here! They seem much sharper than the Speedball cutters and seem to hold an edge much better than the lino carving set does too. They carve smoothly and easily, with minimal pressure and essentially no slippage. They’re a delight to use. I did need to hone them occasionally so keep them razor sharp, but that’s to be expected. I used the wooden strop and polishing compound that came with my lino carving set, but that (or something similar) can be purchased separately. The smallest micro tools can be difficult to sharpen due to their very tiny size, so I may need to invest in a different sharpening tool for those.

So if you prefer a palm-style carving tool, I absolutely recommend the Flexcut Palm tool line. They’re a bit pricey, but absolutely worth it. Quality-wise I do expect these tools to last for a long time.
Have you tried out and of Flexcut’s carving tools? What style and brand of cutters do you like? Tell me in the comments.
Want to keep updated and see more of what I’m working on? Sign up for my mailing list here and get a totally FREE digital download of a tiger linocut print. (I promise not to be spammy with my emails—I hate that too!)
* Please note that this post contains affiliate links and any sales made through such links will reward me a small commission – at no extra cost for you.
Product Review: Caligo Safe Wash Relief Inks
I haven’t been really happy with the water-based printing inks I’ve been using. They’re way better than traditional oil-based inks. They’re non-toxic, much easier to clean up and you don’t need to use solvents, which makes them much safer, particularly in a home-based studio.
Water-based inks can be difficult to work with, however, since they dry very quickly. This can be a benefit—oil-based inks can take a long time to dry! But it’s also a drawback, particularly in less-humid seasons. Working time can be Very short and it can be difficult to get an even print because the ink sometimes dries before I can get the whole piece printed. They do make mediums and additives to help extend the working time a bit, but it’s still quite short.
Since I don’t want to use hazardous solvents in my home (or at all, really!), I decided to look into some of the newer water-soluble oil-based printmaking inks. I’ve gotten great results with the water-mixable oil paints and Really like them a lot, so why give the inks a try?
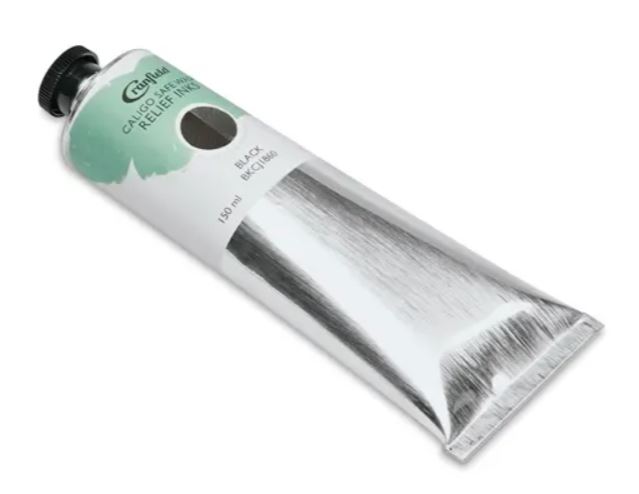
I got a tube of the black Caligo Safe Wash Relief Ink by Cranfield Colors and I’m a complete convert. I Love this stuff! It works much like traditional oil-based ink, since it Is an oil-based ink. It rolls smoothly and gives a nice, rich black print. No worries about it drying out halfway through a print. It does bleed through thin paper a bit more than the water-based ink does, but I just put a piece of tracing paper over the printmaking paper when I’m printing by hand and it’s all good.
But what I love the most is the cleanup. It’s not quite as easy as a water-based ink and you do have to follow the instructions. You apply soap—I use a natural dish soap, and work it into the ink-covered areas Before adding water. I use a cheap bristle paintbrush to work the soap in. Then you wash it with water and the ink comes right off! I sometimes need to repeat the process a couple times, depending on how much ink was built up in the crevices, but it’s still super easy, if a bit messy.
One thing to keep in mind is that if you use unmounted linoleum, like I do, you want to limit how much water comes in contact with the reverse of the linoleum since it can cause warping. I just try to keep the back as dry as possible when I’m washing it, then I dry the block off well and let it dry between paper towels under pressure.
I’ve also seen some cautions about using oil-based inks on the newer, rubbery linoleum alternative materials, like the pink ‘Speedy Carve’ by Speedball. I’ve used Caligo Safe Wash ink on a Speedy Carve block a couple times though and so far, the block seems fine. I don’t know if the oil in the ink will cause damage to the Speedy Carve block over the long term, or if cleaning it really well after use is enough. We’ll have to wait and see, I suppose. To be cautious, you might want to stick to water-based inks if you’re using the rubbery materials. Or not—be daring and live a little, right?
Anyway, I highly recommend Caligo Safe Wash Relief inks. They’re a fantastic alternative to traditional oil-based inks as far as safety and clean up goes, and superior to water-based inks in their working properties. The only thing I Really wish for is for Cranfield to add some metallics to their Caligo Safe Wash line. They have a gorgeous oil-based gold ink in their traditional oil-based line and I’d love to be able to get it in a water clean-up version.
What are your thoughts on the water-soluble inks and oil-paints? Have you tried any of them? Tell me below in the comments!
Want to keep updated and see more of what I’m working on? Sign up for my mailing list here and get a totally FREE digital download of a tiger linocut print. (I promise not to be spammy with my emails—I hate that too!)
* Please note that this post contains affiliate links and any sales made through such links will reward me a small commission – at no extra cost for you.

Product Review: Flexcut Lino and Relief printing carving tools
In my quest for a more enjoyable printmaking experience, I decided to look into upgrading my carving tools. Like with the wooden spoon I talked about here, I’ve been using the same student-grade carving tools I learned on. In particular, I’ve been using the Speedball linoleum cutters.
The Speedball cutter has a plastic handle with interchangeable blades in various shapes and sizes. The cutters do get dull eventually and you can either try and sharpen them a few times with a sharpening stone or just toss the blade and replace it with a new one. The replacement blades are fairly inexpensive and both the handle and the blades are relatively easy to find.
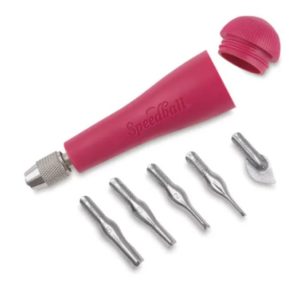
I don’t have any major issues with the Speedball cutters. They work well enough and the handle has a little storage compartment for the blades, which makes it compact and easy to store. But, I thought, why not try something new?
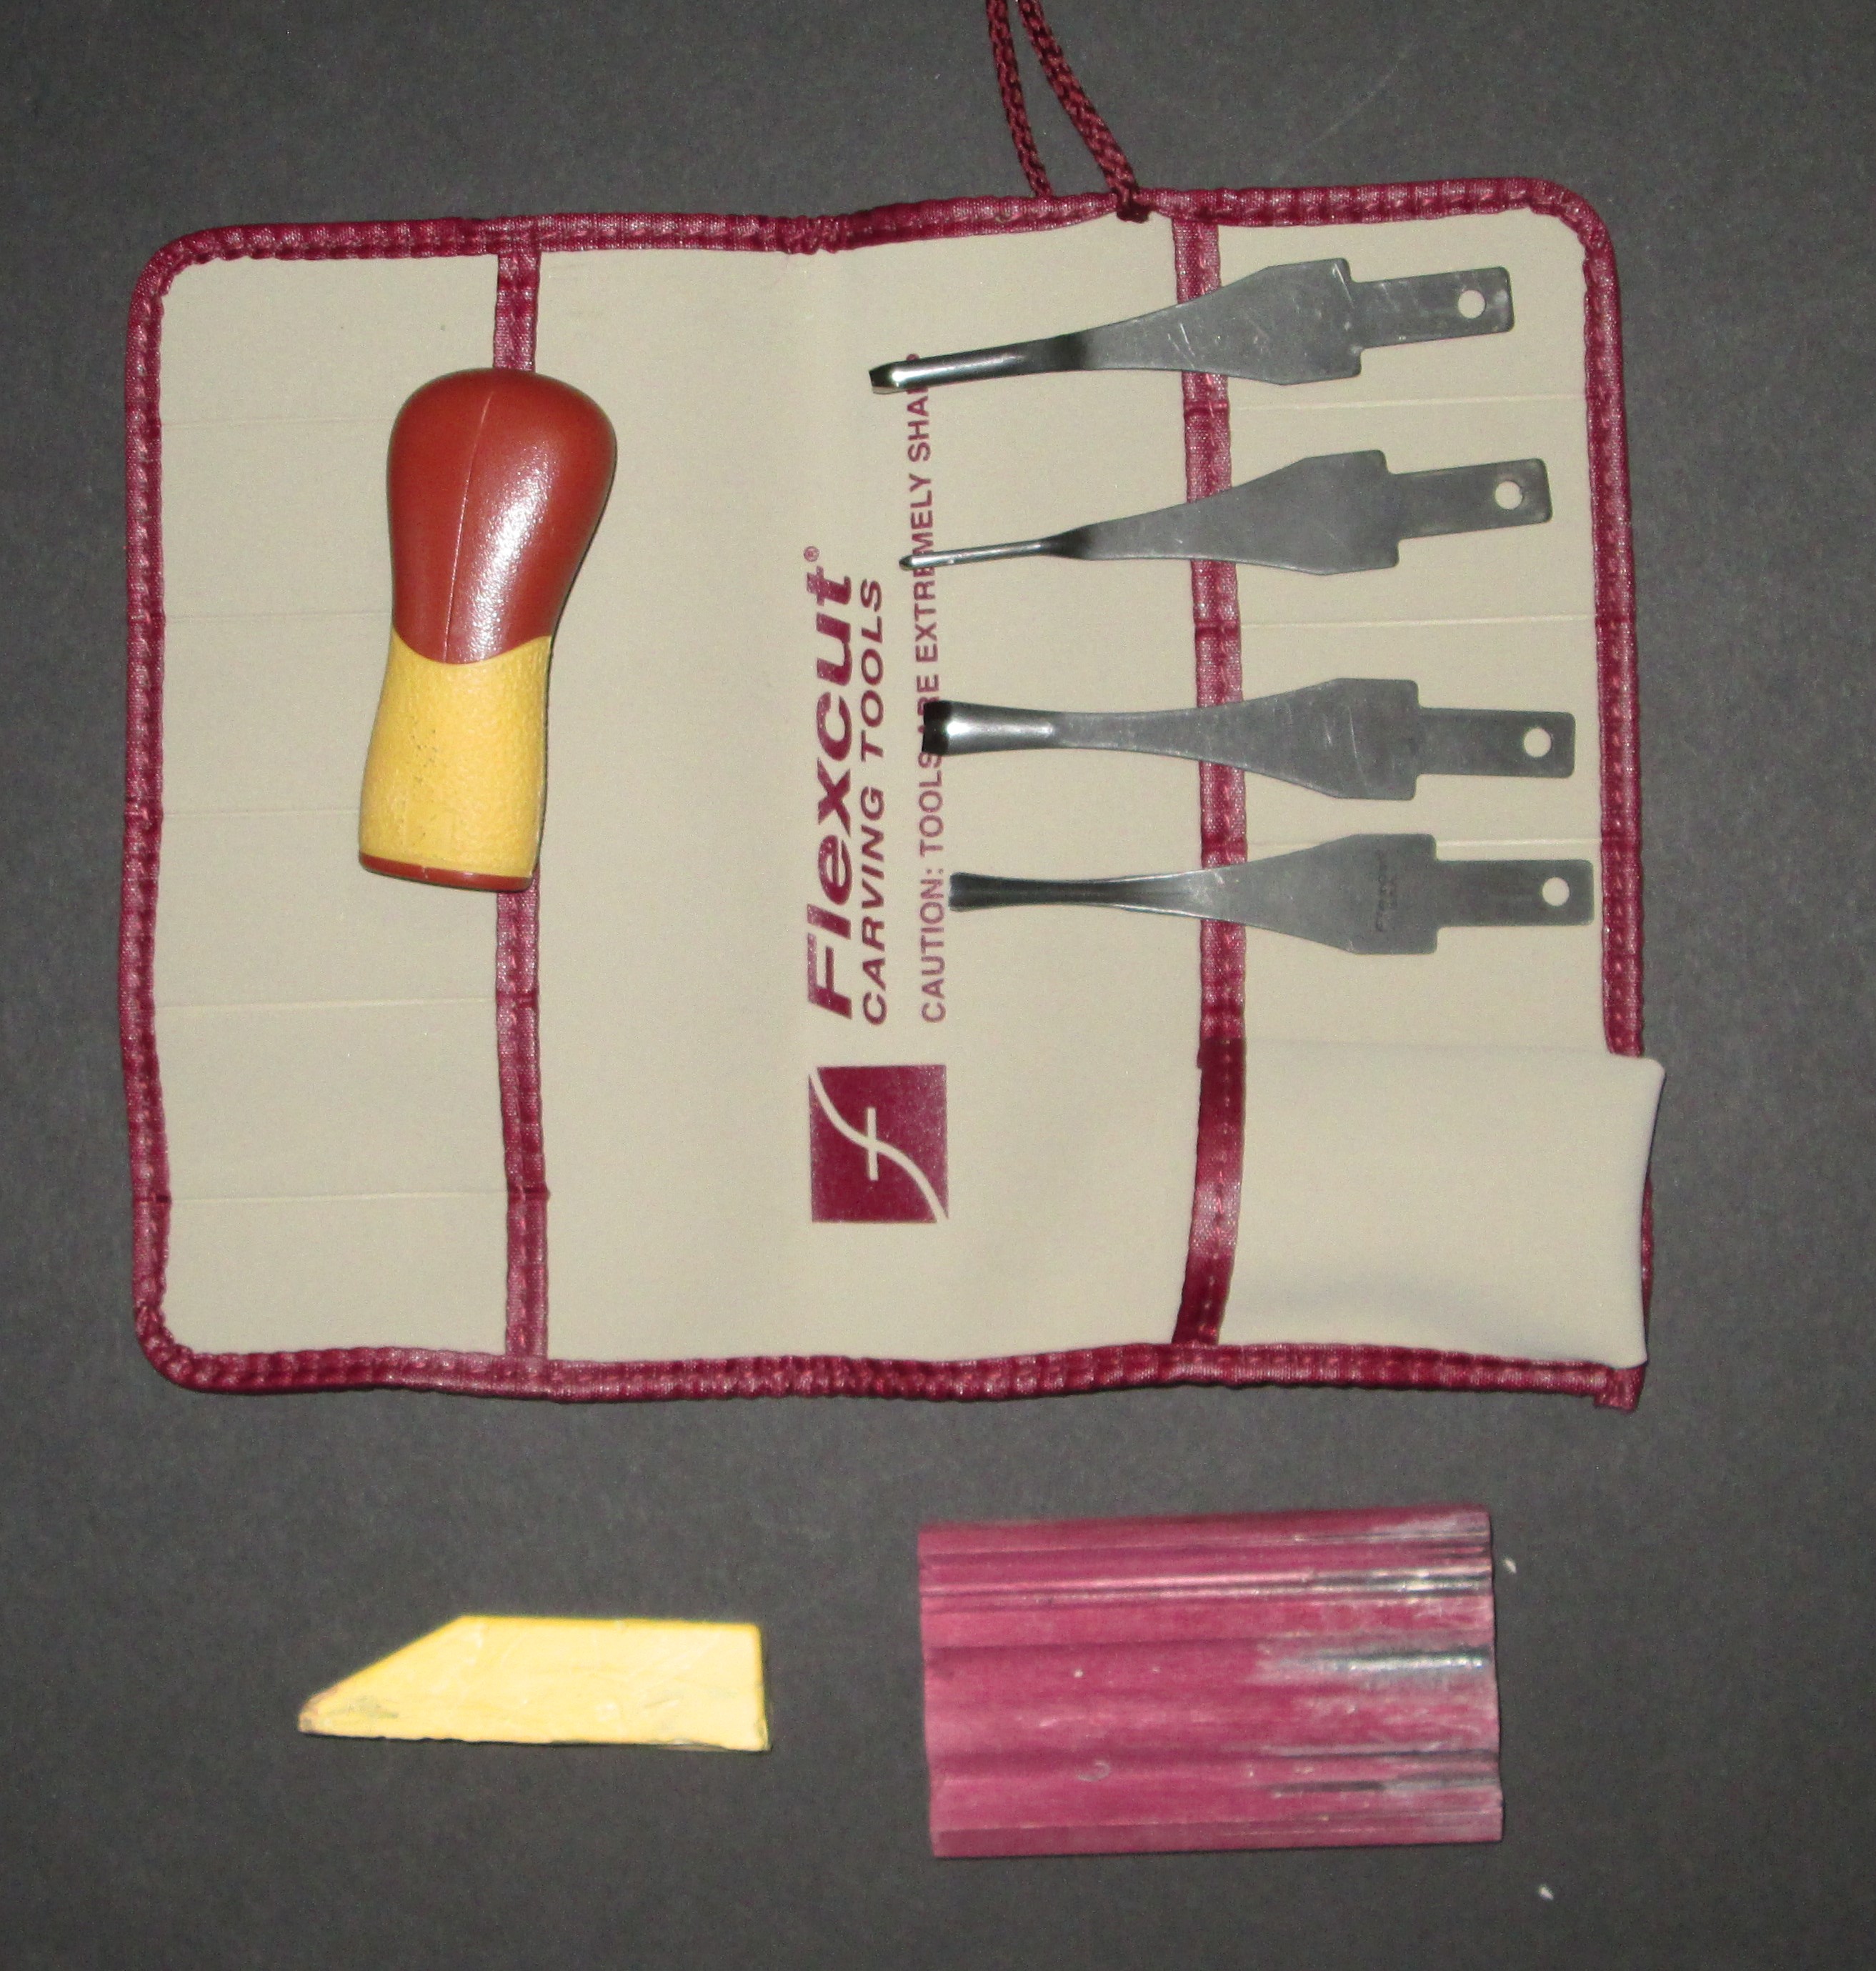
For my first excursion into the realm of new carving tools, I got the Flexcut Lino and Relief printmaking set. It’s not hugely expensive, but still a bit of a shock compared to the Speedball cutter. The set comes with four interchangeable blades of various sizes and shapes, one handle, a tool roll to hold the pieces, and a wooden strop and polishing compound for sharpening the blades.
Well, I tried them out and… I hate them. Absolutely detest them. I was so disappointed; the reviews were decent and they looked like they’d work well. Now, you might have a very different opinion—they’re a popular choice so it’s clear that many people Do like them. But I’ll tell you why I dislike them so much.
First, while they start off nice and sharp and carve through the linoleum well, they don’t seem to hold an edge well at all. I found myself having to hone them every few strokes in order to keep them cutting easily. The Speedball cutters definitely seem to hold an edge better. But that may just be a difference in the sharpness of the tools. Perhaps a slight dulling of the Flexcut tools is more apparent than with the Speedball cutter, since the Flexcut ones are sharper to start with.
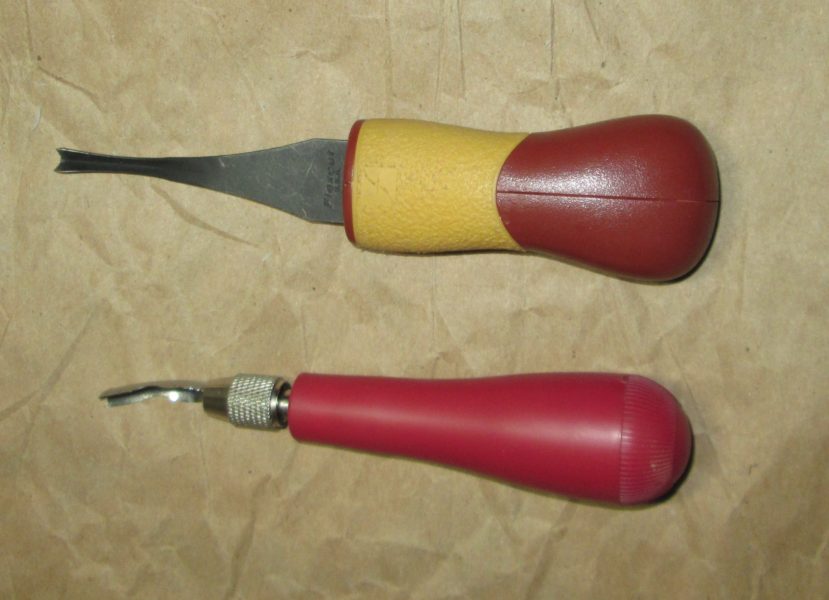
Second, the handle shape and size doesn’t work for me. At all. I had to hold my hand and wrist at an awkward angle that I quickly became excruciating (I injured my wrist way back when I was a teenager, and it still give me quite a bit of trouble, so the ergonomics of my tools is very important). The handle doesn’t look all that different in size compared to the Speedball cutter handle, but clearly, it’s different enough to be an issue for me. I found the least painful way of holding the tool was to put the blade in so that the handle was upside down—there’s a curve to it so that if fits in your palm better. I got a better angle with the ‘underside’ against my palm. It was still painful, but less so.
Another thing to take into consideration is that, while the blades are interchangeable, they fit Very tightly into the handle. While this means they’re not going to accidentally come loose, it does make it quite tricky to change the blade. Patience and a fair bit of hand strength is required. On a side note, it appears that you can purchase different styles of handle that fit the blades, so that’s an option I might look into in the future. The handles are fairly expensive though.
I don’t think I’ll be using these tools again since they simply don’t work for me. For now, it’s back to my trusty old Speedball cutters. But, I’ll definitely keep searching. There are so many different styles of carving tools; something has to work!
Now, don’t let my review scare you away from trying the Flexcut Lino and Relief printmaking set if you’re so inclined. Like I said, there are plenty of good reviews, so it works for a lot of people. And if you do try it, let me know what you think!
Want to keep updated and see more of what I’m working on? Sign up for my mailing list here and get a totally FREE digital download of a tiger linocut print. (I promise not to be spammy with my emails—I hate that too!)
* Please note that this post contains affiliate links and any sales made through such links will reward me a small commission – at no extra cost for you.
Must-Have Printmaking Tools: Baren
For years, I’ve gone the cheap route for hand-printing my linocuts. I was first shown how to print them using the back of a wooden spoon to rub the back of the paper and transfer the ink from the block. Wooden spoons are cheap and easy to come by, unlike a printing press!
We Did use a press when I took printmaking in college though, and I admit that I like that a lot more. I’m considering investing in a small printing press at some point, but we’ll see. Add it to the wish list!
So, I’ve been printing all my linocuts by hand with a wooden spoon all these years and it works fine. But I kept finding that I’d put off making the actual prints once I was done carving the block. I hated printing by hand! It’s awkward and you have to use a lot of pressure and weird angles. My hand and wrist were always sore afterward.
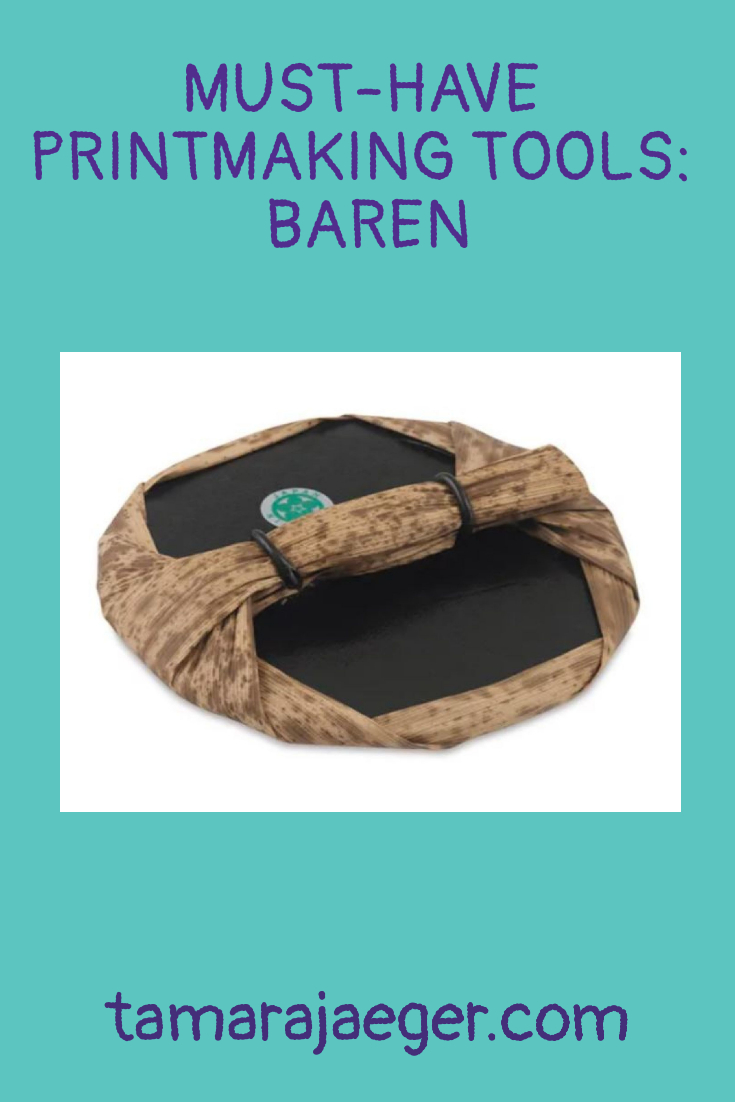
Then one day, I decided to splurge and try out a baren for printing. Now, if you’re not familiar with a baren, it’s a flat, smooth disk with a handle that is used to apply even pressure over the surface. You ink your block, place the paper over the top, and rub with the baren. Unlike a wooden spoon, the surface of a baren is flat and you apply pressure downward directly from above, so you don’t need to use as much force and you’re not applying it at strange angles.
There are several different types of barens available. The only one I’ve seen in stores is the Speedball Baren, which is a large, bulky-looking plastic item with a Teflon coating. I’ve never tried it so I’d be curious to know what other people think of it.

I’ve also seen glass barens and some (really expensive!) Japanese ones that have hundreds of ball bearings along the surface. I’d actually love to try one of those, but they run about $250+ so that’s probably not going to happen anytime soon. There are also less expensive versions made of plastic with little bumps over the surface.

What I eventually decided on was the Yasutomo baren, which is an inexpensive Japanese-style baren made of lacquered cardboard (I think some are actually plastic) covered with bamboo bark, with a bamboo bark handle. The bamboo covering does wear out eventually, but it can be replaced. If you have one of the less expensive bamboo barens, you could just replace the entire thing. If you have one of the more expensive versions, it’s probably worth it to replace just the covering.


They come in several sizes and I’d recommend getting the larger one. Most of my print blocks are on the smaller size, but the larger baren is perfect. I haven’t tried printing a really large block with a baren yet, so I can’t really comment on its performance for that.
I like that the bamboo baren is thinner than the Speedball baren, which makes it easier to store. I do notice that the little ties around the handle sometimes shift when I’m using it. I suspect if I splurged for one of the more expensive bamboo barens, that wouldn’t be an issue. It’s a minor annoyance.
I sometimes find that I get ink bleeding through the paper and onto the baren’s surface when I’m using very thin paper, so that’s something to be aware of. Typically, I’ll put a piece of tracing paper over the printmaking paper and rub the baren over that. It also helps reduce friction and wear on the paper, since the bamboo bark has slight ridges. In a pinch, I’ve used plain printer paper. For thicker paper, there shouldn’t be any problem with ink transfer so you can just use the baren directly on the printmaking paper. Overall, my bamboo baren is a thousand times better than using a wooden spoon, and I find that I don’t really mind printing my hand anymore. Success!
Have you ever tried a baren for printing? How do you (or would you) make your prints? Tell me in the comments below!
Want to keep updated and see more of what I’m working on? Sign up for my mailing list here and get a totally FREE digital download of a tiger linocut print. (I promise not to be spammy with my emails—I hate that too!)
* Please note that this post contains affiliate links and any sales made through such links will reward me a small commission – at no extra cost for you.
Review: Water-Based Gold Block Printing Inks
If you’ve been following along with me, you know that I’ve been working quite a bit lately on linocut block prints (if you haven’t been following me, you can check out some of my earlier posts here and here). I’ve been trying out some new printing inks, trying to find ones that have better working properties than the ones I had been using previously but that are still easy to clean up without solvents and with good lightfastness.
and here). I’ve been trying out some new printing inks, trying to find ones that have better working properties than the ones I had been using previously but that are still easy to clean up without solvents and with good lightfastness.
One of the colors I’ve enjoyed printing in is gold. It’s kind of difficult to find gold block printing ink in general and even harder to find a good one!
Today, I’d like to compare two of the inks I’ve tried out so far: Speedball Water-Based Gold Block Printing Ink and Schmincke Aqua Gold Linoprint Ink.
I’ve used the Speedballwater-based inks for years. They’re easy to find, inexpensive, non-toxic, and very easy to clean up with soap and water. I’ve never been very happy with their working properties, however, which has led me to my current quest to find a ‘better’ block printing ink.
Speedball Water-Based Block Printing Ink
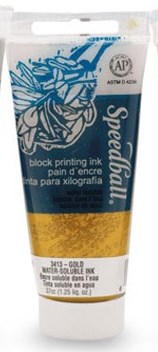
The issue I have with all the water-based Speedball inks is their poor working properties. They dry too quickly, especially in warm weather or in the winter when the indoor humidity is low. This makes it difficult to print the image evenly, since you have to work Very quickly. I’ve often only managed to get a couple good prints at a time, with many more that are poor quality—patchy or with faded areas. But they do make a gold ink. It’s not terrible. More of a coppery color than gold, in my opinion.
Schmincke Aqua Linoprint Ink
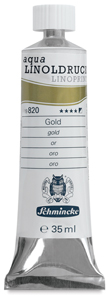
I discovered Schmincke Aqua linoprint inks online recently. They’re water-based, so they clean up easily and without needing to use harsh solvents. The reviews I read were generally quite favorable so I decided to give them a try. They’re not cheap, however.
I had such high hopes when I rolled this ink out on the plate! Sadly, so far I hate the ink. Like, really hate it. To be fair, the color of the gold ink is fantastic. It’s a nice, bright, iridescent gold. I just could not get a good print out of it. Now, it may be that I just need to spend some time experimenting to figure out the best technique for inking the plate and printing the piece. My current technique certainly doesn’t seem to be working!
I had two main issues with the Schmincke ink—getting good ink coverage on the plate and removing the paper from the plate after printing. The Schmincke ink is, I think, a thinner consistency than the Speedball ink. This is good in that it lets you print fine details more easily, without clogging up the plate and filling in shallow cuts—a definite issue with the Speedball inks. Indeed, the Schmincke ink did give me more delicate-looking lines in the finished print. The problem was that I couldn’t get it to stick to the entire plate evenly so I lost a lot of detail in the overall image. It’s almost like the ink simply wouldn’t stick to the plate. It was incredibly frustrating. I thought at first it might be an issue with residual oil from the other ink I had used on the plate, but I had the same problems when I tried it out on a plate that I had only ever used water-based inks on.

On the other hand, once I inked the plate and printed it, it was very difficult to pull the paper off the block. That sucker was stuck down like I had used superglue! Weird, considering how hard it was to get the ink on the plate in the first place. Now it doesn’t want to come off? The ink does seem to get Very sticky as it dries. I like to use a thin Japanese paper for my linocut prints but this paper gets bent and warped and distorted trying to pull it off the plate with the Schmincke ink. A heavier paper may help with this; I’ll have to give it a try and see.
So far, I have one ink that prints okay-ish with an indifferent color ( Speedball) and one ink with a stunning color and a terrible printing experience ( Schmincke). I definitely will continue to test out the Schmincke ink to see if I can figure out a way to get good prints with it. I really do like the color!
If you’re interested, you can also read my thoughts on Caligo Safe Wash water-soluble block printing ink here (spoiler alert: I love it!). Sadly, Caligo doesn’t have any metallics in their Safe Wash line. The do have a gold ink in their traditional oil-based ink line that I may have to try out, despite the greater difficulty in clean up.
Have you tried out any water-based printing inks? What about metallic inks? What have your experiences been with them? Tell me below!
* Please note that this post contains affiliate links and any sales made through such links will reward me a small commission – at no extra cost for you.
Want to keep updated and see more of what I’m working on? Sign up for my mailing list here and get a totally FREE digital download of a tiger linocut print. (I promise not to be spammy with my emails—I hate that too!)
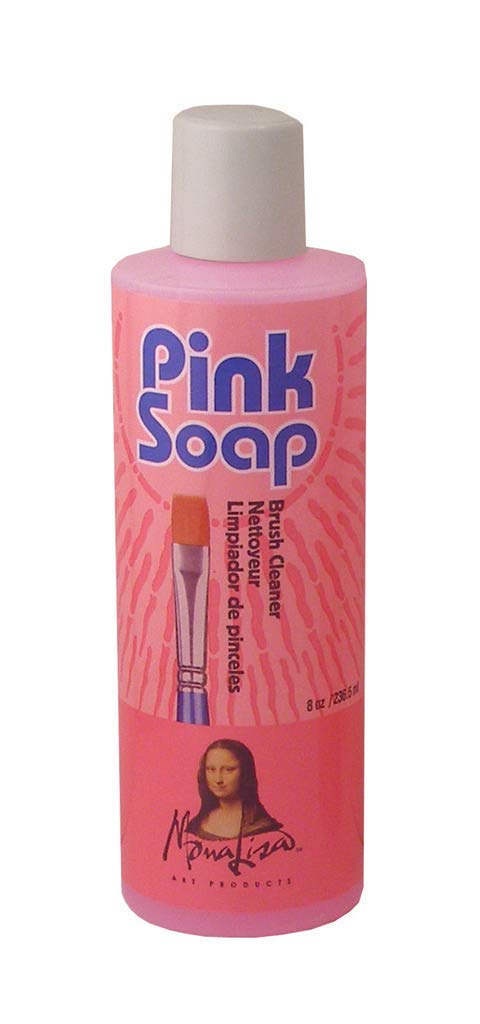
Product Review: Mona Lisa Pink Soap brush cleaner
I have a confession to make—I LOVE Mona Lisa Pink Soap Artist Brush Cleaner by Speedball. I first encountered it in college when I was looking for a decent, yet inexpensive soap for cleaning my paint brushes. I gave this one a try and I was hooked. At the time, I was using oil paints, so I used it after an initial cleaning with solvent to remove the bulk of the paint from the brush. This soap was fantastic at getting rid of the last of the paint residue and leaving my brushes clean and in good condition.
Now I paint mostly with acrylic or water-mixable oil paints, and Pink Soap tackles both of these quite easily. I use a few drops of soap in the palm of my hand and work it into the bristles, then rinse and repeat until no more paint comes out of the brush. It even does a decent job at removing dried paint and residual staining from the bristles, though no product will remove All staining. And honestly, I don’t particularly care if my paint brush bristles are stained, as long as they’re clean. The scent is pleasant and it also seems to leave my hands (and brush bristles) feeling soft. It does a great job at removing dried paint from my hands too.
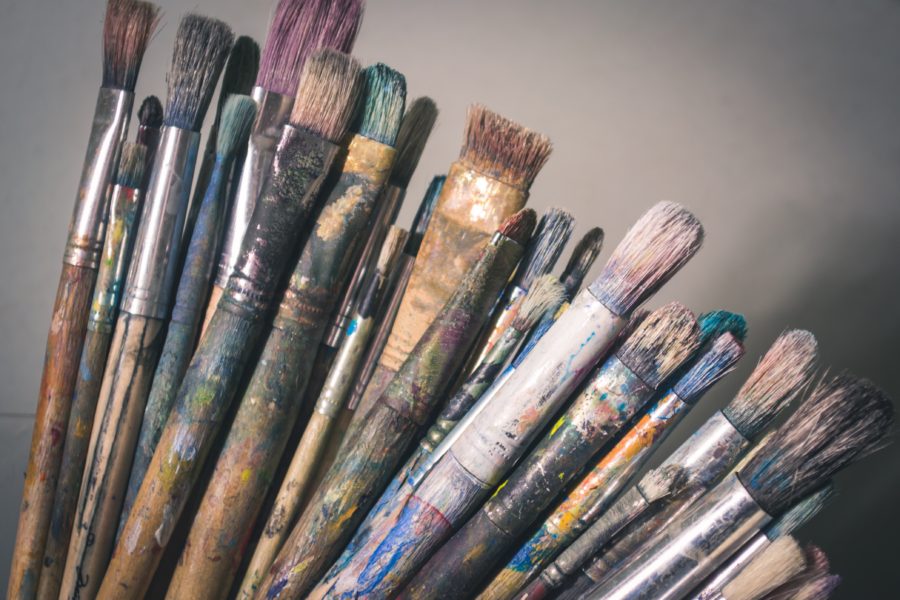
Photo by Steve Johnson from Pexels
Now, I’m not one of those people who leave their paint brushes covered in paint, so I don’t know how well this soap would work for thick, very dry paint (If that sounds like you, try this soap out and let me know how it works!). I’ve tried a few other brush cleaners over the years, but I keep coming back to Mona Lisa Pink Soap . It smells nice, is non-toxic, and not overly messy. It’s also easy to find, since it’s carried in several of the major craft stores, like Michael’s, as well as online.
What is your favorite brush cleaner? Have you ever tried Mona Lisa Pink Soap? If so, what did you think?
* Please note that this post contains affiliate links and any sales made through such links will reward me a small commission – at no extra cost for you.

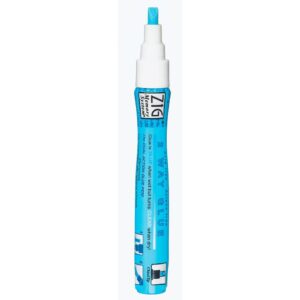
Product Review: Two-Way Glue

One of the materials I use in my torn paper collages is a two-way, acid-free scrapbooking glue. There are a couple brands; I haven’t noticed any difference between them so I usually buy whichever one is available or least expensive. I’ve tried other types of adhesives, but haven’t been very happy with their working properties.
It’s available in a
large, chisel-tip dispenser as well as a couple
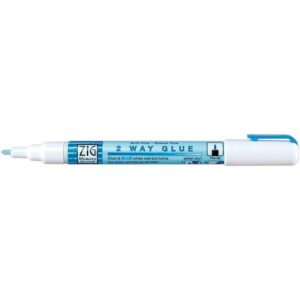
small, pen-like dispensers. I use the large chisel tip one for laying down adhesive over larger areas of my paper and the small chisel tip pen version for working close to areas I’ve already finished, adding details, and securing edges where the paper fragments overlap. The glue is also relatively easy to find. It’s typically available in all the major craft stores as well as online.
The glue is blue when it is first dispensed and turns clear as it dries, though it remains tacky. The “two-way” refers to the formulation of this glue where it creates a permanent bond if the materials are stuck together while the glue is blue and a ‘temporary’ bond if the glue is allowed to dry first (in other words, if the materials are stuck together after the glue has turned clear). While I don’t need a removable adhesive for my purposes, I do like how the glue stays tacky, so I can still attach the pieces of paper even if it took me a little longer to fill in an area than I expected when I applied the glue to the paper.
It’s not perfect—like I said, I don’t need a repositionable adhesive and I’d really prefer it to always provide a permanent bond. It’s also a bit messy, since it remains sticky. I tend to get adhesive all over my fingertips, which can make it hard to place tiny paper fragments accurately and it can also pull the color off the surface of some of the magazine papers, leaving pale fingerprint marks. The small chisel tip pen can dispense glue unevenly, either not putting anything on the paper or allowing large amounts of glue to pour over the tip and onto the paper in an uncontrolled manner. This appears to be more of a problem when the pen is partially or mostly empty than when it is new. I also haven’t noticed this problem much with the chisel tip dispenser version, though that may be due to the larger, flatter tip, which seems to be more absorbent and holds the glue better than the thin pen tip.
Overall, I like this product and it is my go-to adhesive for making my torn paper collages. I will probably continue to try out other adhesives, but so far I haven’t found anything that works nearly as well.
*Please note that this post contains affiliate links and any sales made through such links will reward me a small commission – at no extra cost for you.